Edit Season Walkthrough
Read through the post below to learn about one of the first areas to set up, or watch the video to see the process. You can also download this post in pdf form: Edit Season
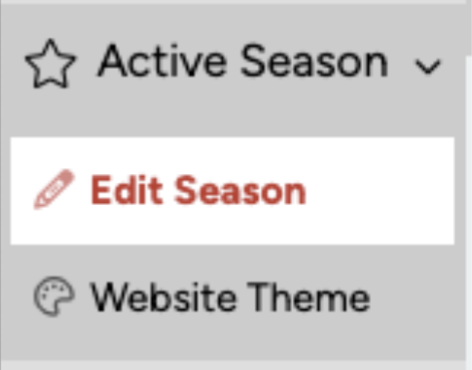
One of the first areas to set up in your Awardify account is the Season. This is where you will set the name of your Season and the dates. Setting the current Season as ‘active’ is a tool for returning customers who are beginning a new Awards Season. The old Season should be ‘deactivated’ and the new Season ‘activated’.
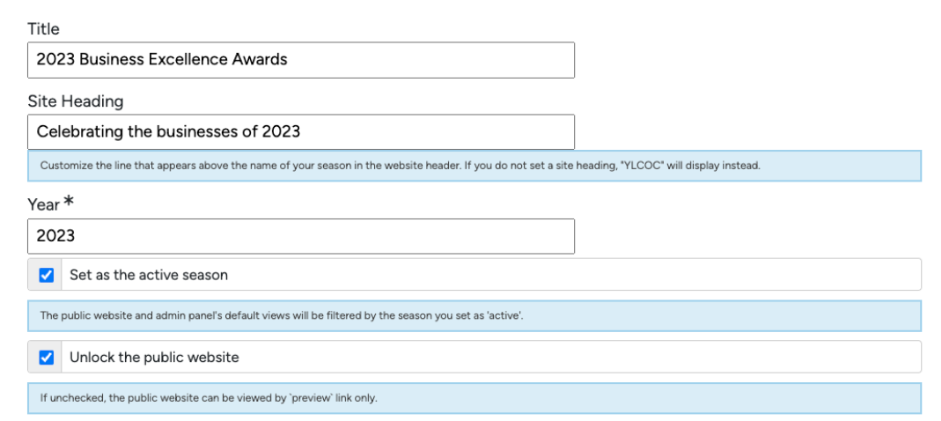
Once you have completed your setup, and are ready for the information to be available to the public, you can ‘Unlock the public website’, allowing visitors to see information about your awards season. This website is auto populated with the information you input into Awardify.
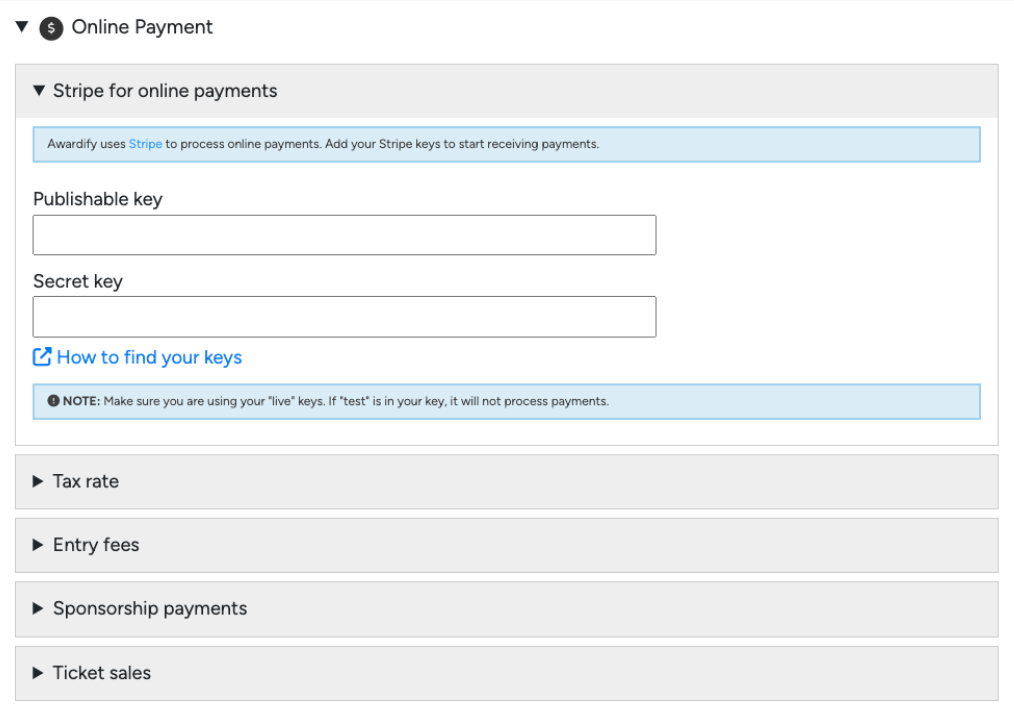
You can also embed a current payment system, if you prefer.
In your payment settings you can set up your tax rate, activate entry fees if applicable, activate sponsorship payments if applicable and control the tax charged on ticket sales. Other ticket settings will be configured in your event settings. To see the walk-through of your Event setup, see the Event document.
See the ‘Pages’ video and document for more details about setting up your website.
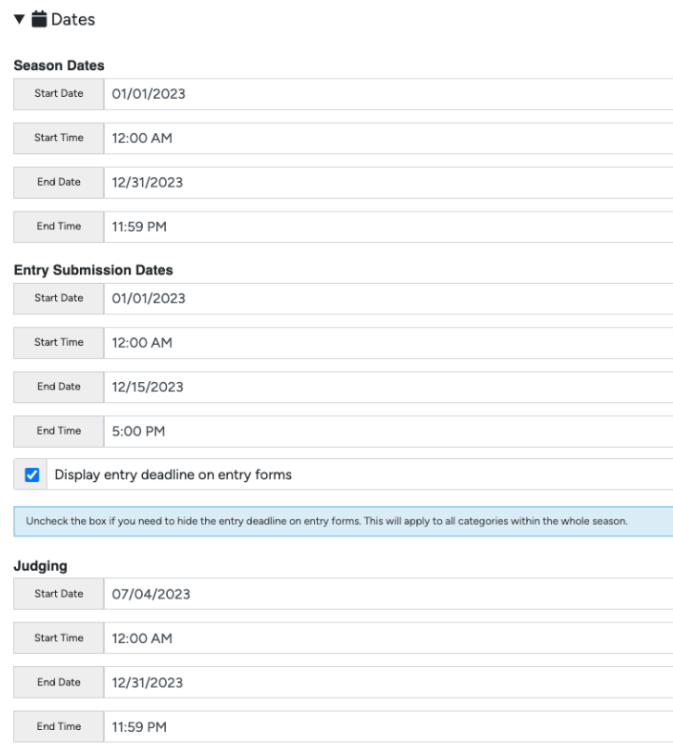
The Season Dates encompass your entire awards program, from the opening of nominations or entries, to the end of your Awards Event. The two basic dates you will need to set are the entry submissions dates and the judging dates. These control when entry forms will be available to fill out, and when they will no longer be available.
The online payment settings apply to any payments you will need to receive over the course of your season. This can include fees for submissions and ticket sales for your Awards Event. Awardify uses Stripe for secure online payments, for more information about setting up a Stripe account for your business, click the link ‘How to find your keys’ in your Admin account.
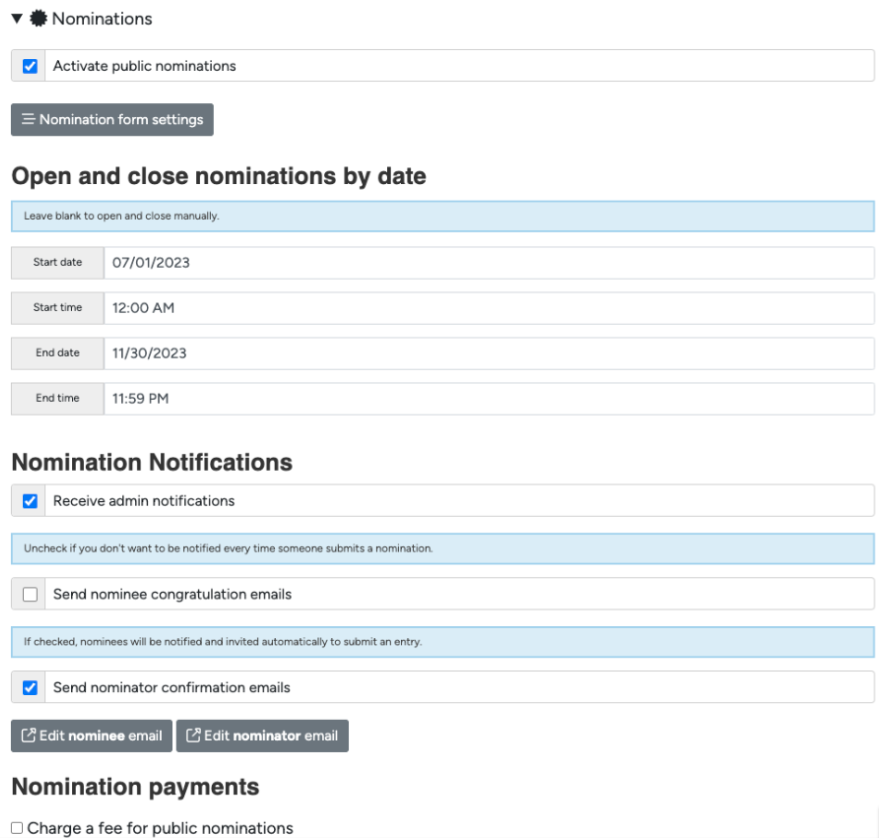
Nominations are not automatically activated on your new Awardify account. If your awards program uses nominations, this is the area to activate and set the start and end dates. You will also see settings to send notifications to nominators and nominees. To learn more about setting up Nominations, see the corresponding videos and documents.
The Advanced Settings allow you to control how the entries are presented to the judges and/or the public under “Entry Alias Format”. This means that instead of seeing the Entrant name, a number ID will be assigned to each entrant to maintain anonymity.
The Entry Score Format controls the scores your judges will be able to assign to an entry. The default settings are a 1-10 sliding scale for each criteria. This check box allows judges to score in decimal points (for example, scoring a 6.7 out of 10). For more judging and criteria settings, see the Criteria video and documents.
The last advanced setting is the entry limit. Awardify keeps track of each individual or business who is entered in for an award and if you would like to limit the number of entries available to them place that limit here.

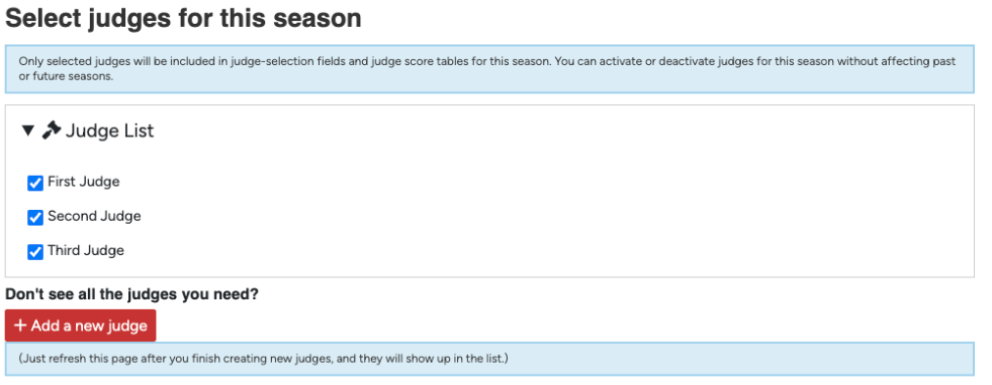
General season settings for judges are available in your Season settings. If you have already created judge accounts, they will show up here to be selected for this season. This setting is primarily helpful for subsequent seasons, when you may want to exclude judges from the new season. This area also provides a shortcut to create new judges, for more information about creating judge accounts and their settings, see the Judges video and documents.
