Messenger
Read through the post below to learn how to use the Messenger system, or watch the video to see the process. You can also download this post in pdf form: Messenger System
Awardify has a handy built-in Messenger system, which is divided into two main sections: Notifications and Campaigns. Notifications are emails that are automatically sent when certain actions are completed. Campaigns are custom created by you for any information that you find yourself needing to communicate with your members.
Let’s talk about Notifications first. On the main page you will see a list of notifications that will be sent out automatically.
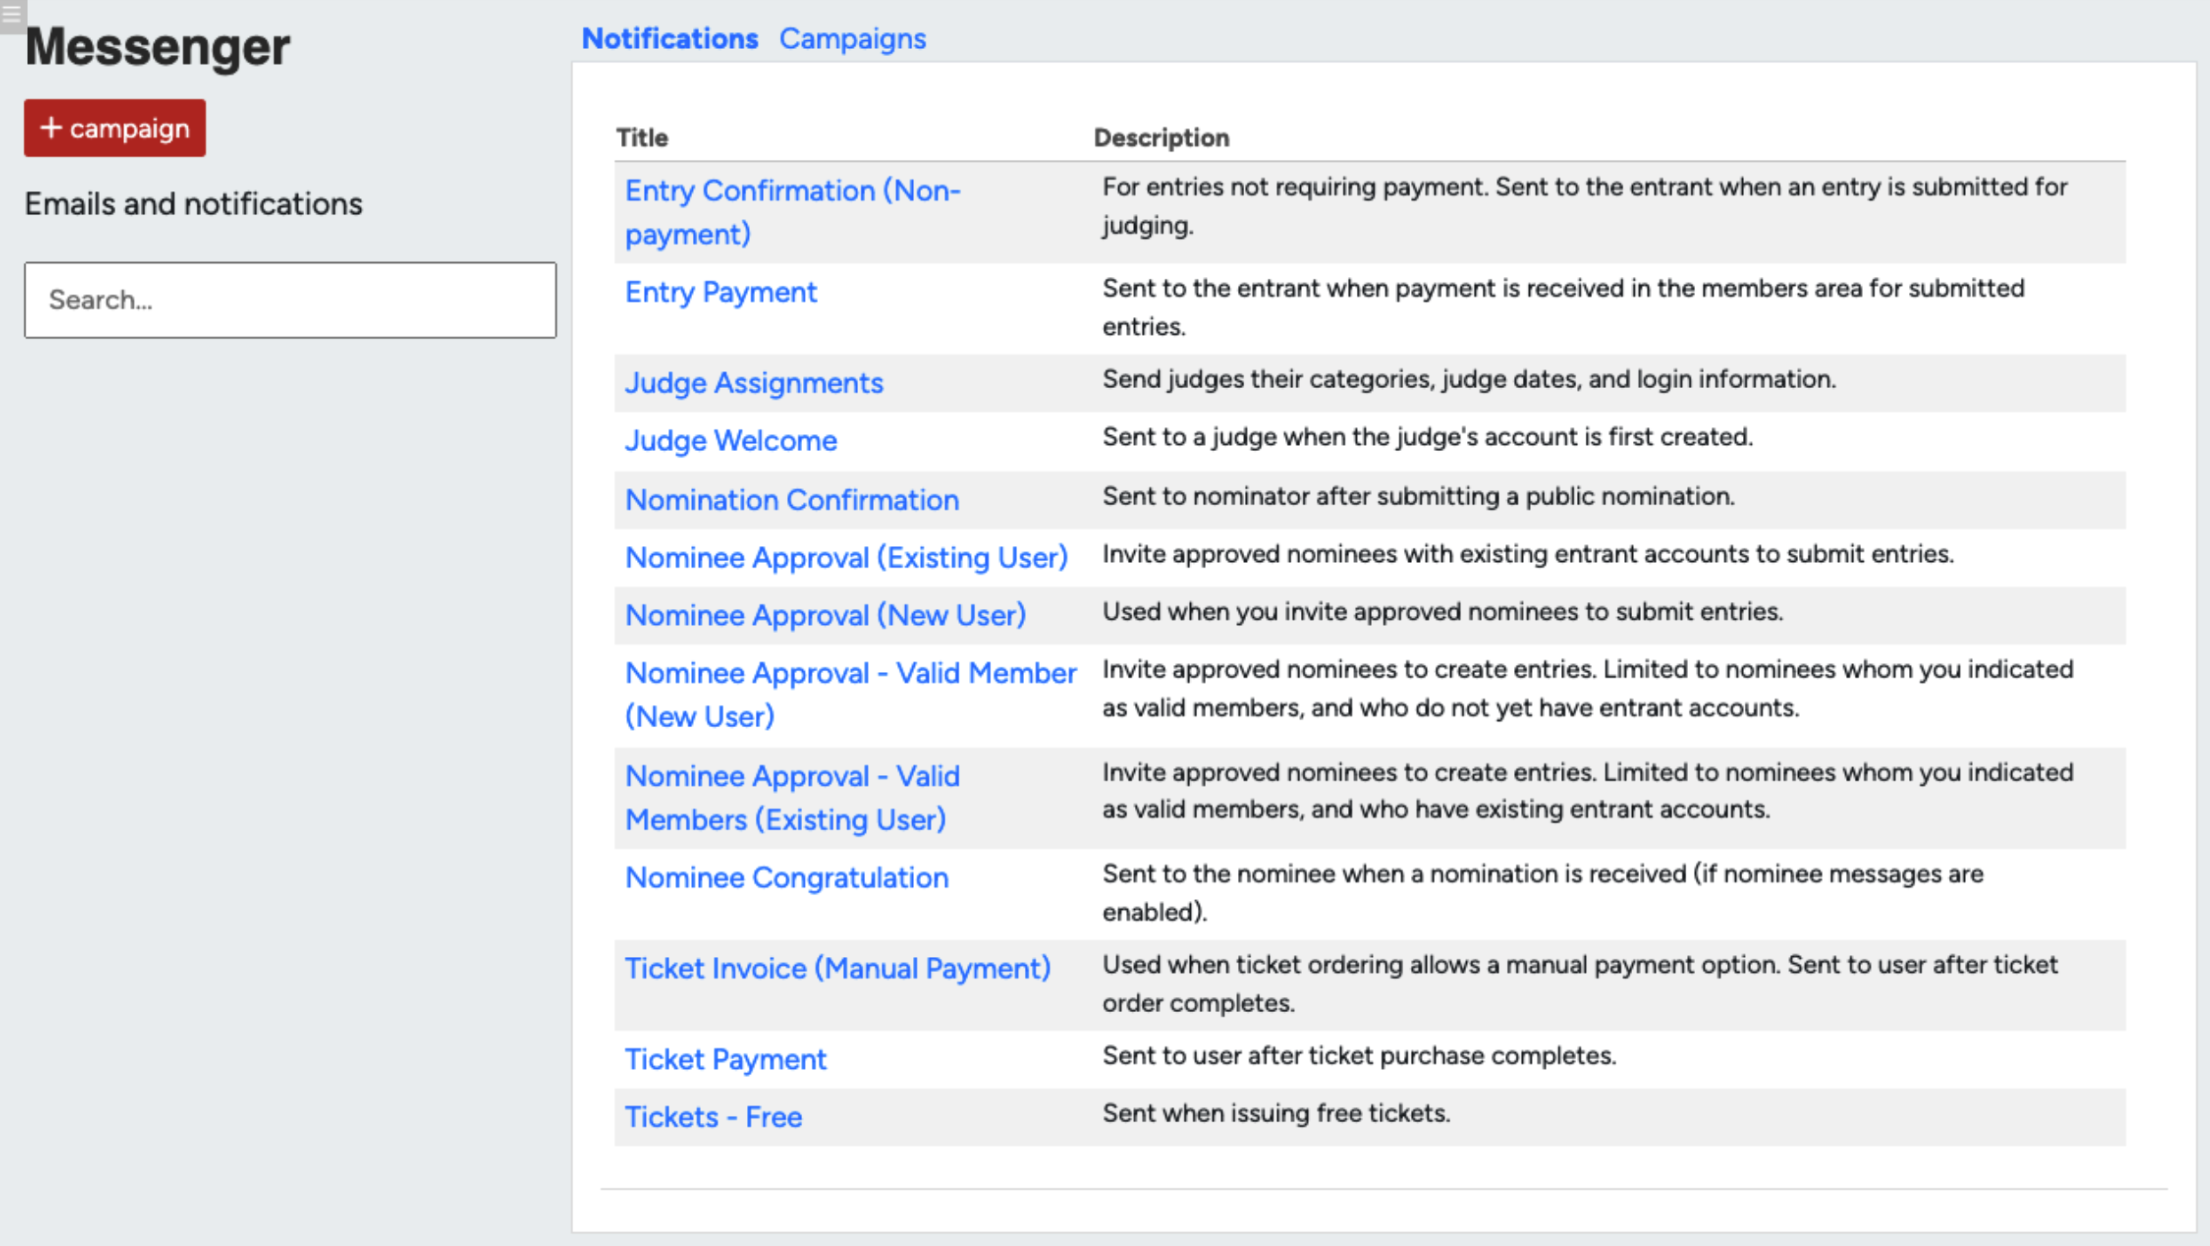
If a message doesn’t apply to your season, for example ‘Entry payments’ or ‘Ticket Invoice’, don’t worry! They won’t send unless prompted by the correct action. The descriptions on the right side show when each notification will be sent.
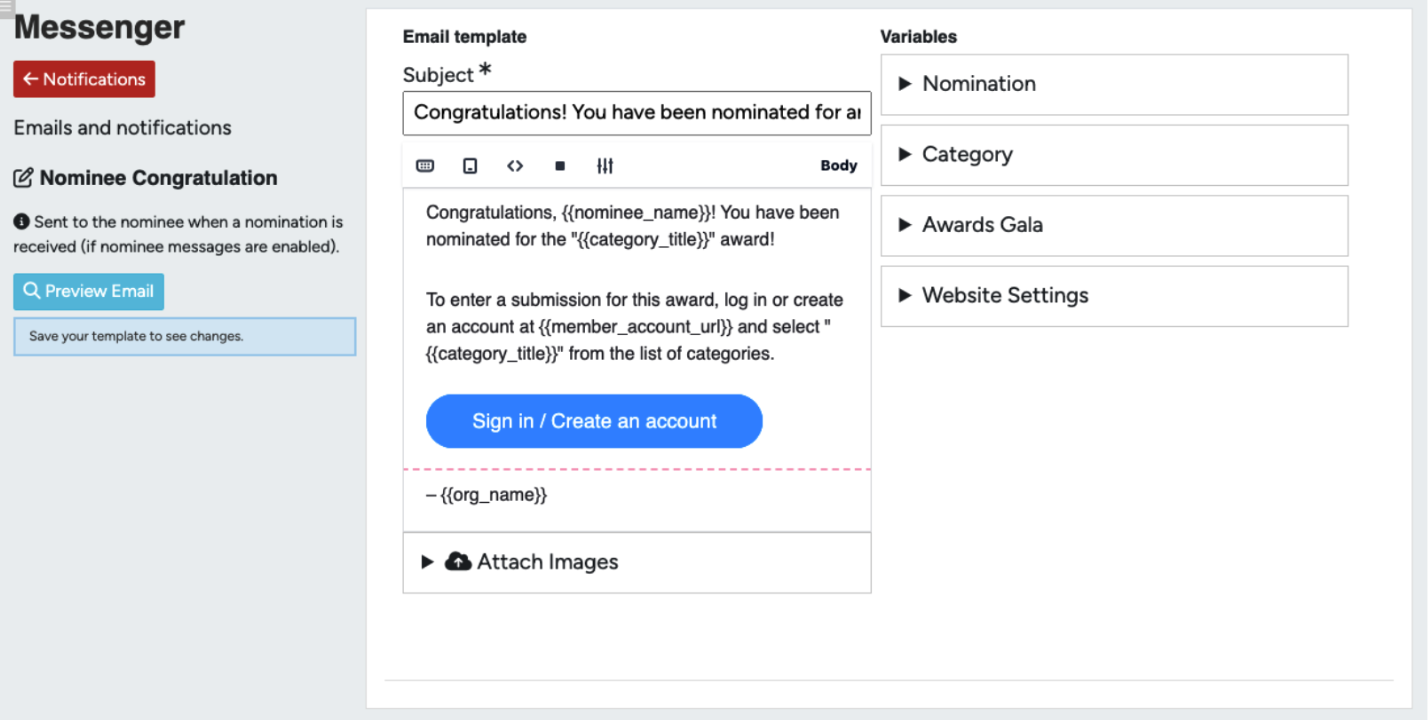
Clicking into any of the notifications will show the message and settings applied.
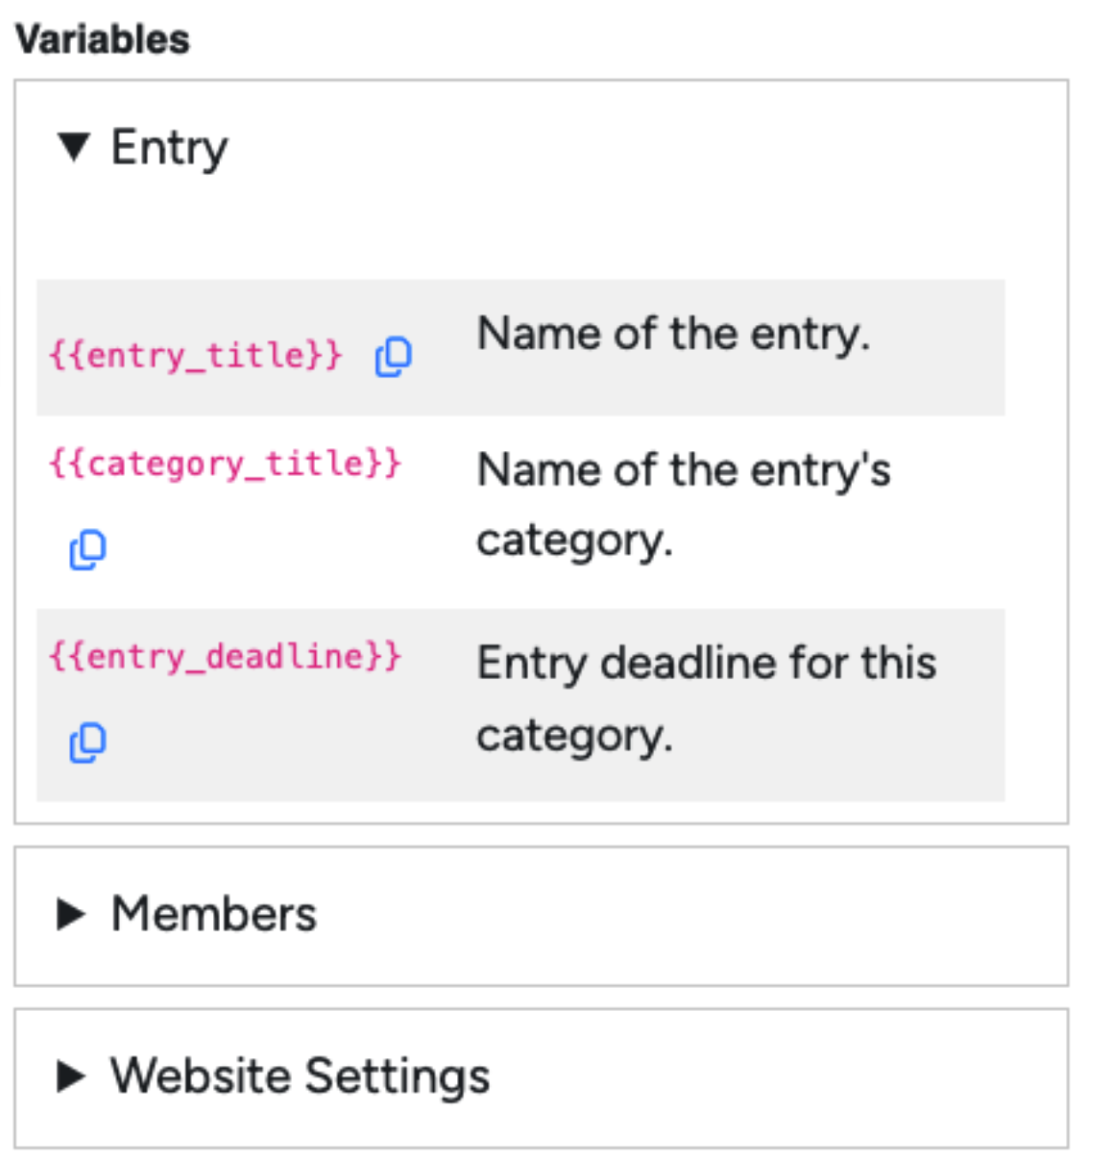
You will see many words or phrases in curly brackets. These are variables, and can be used to auto-populate information from your season.
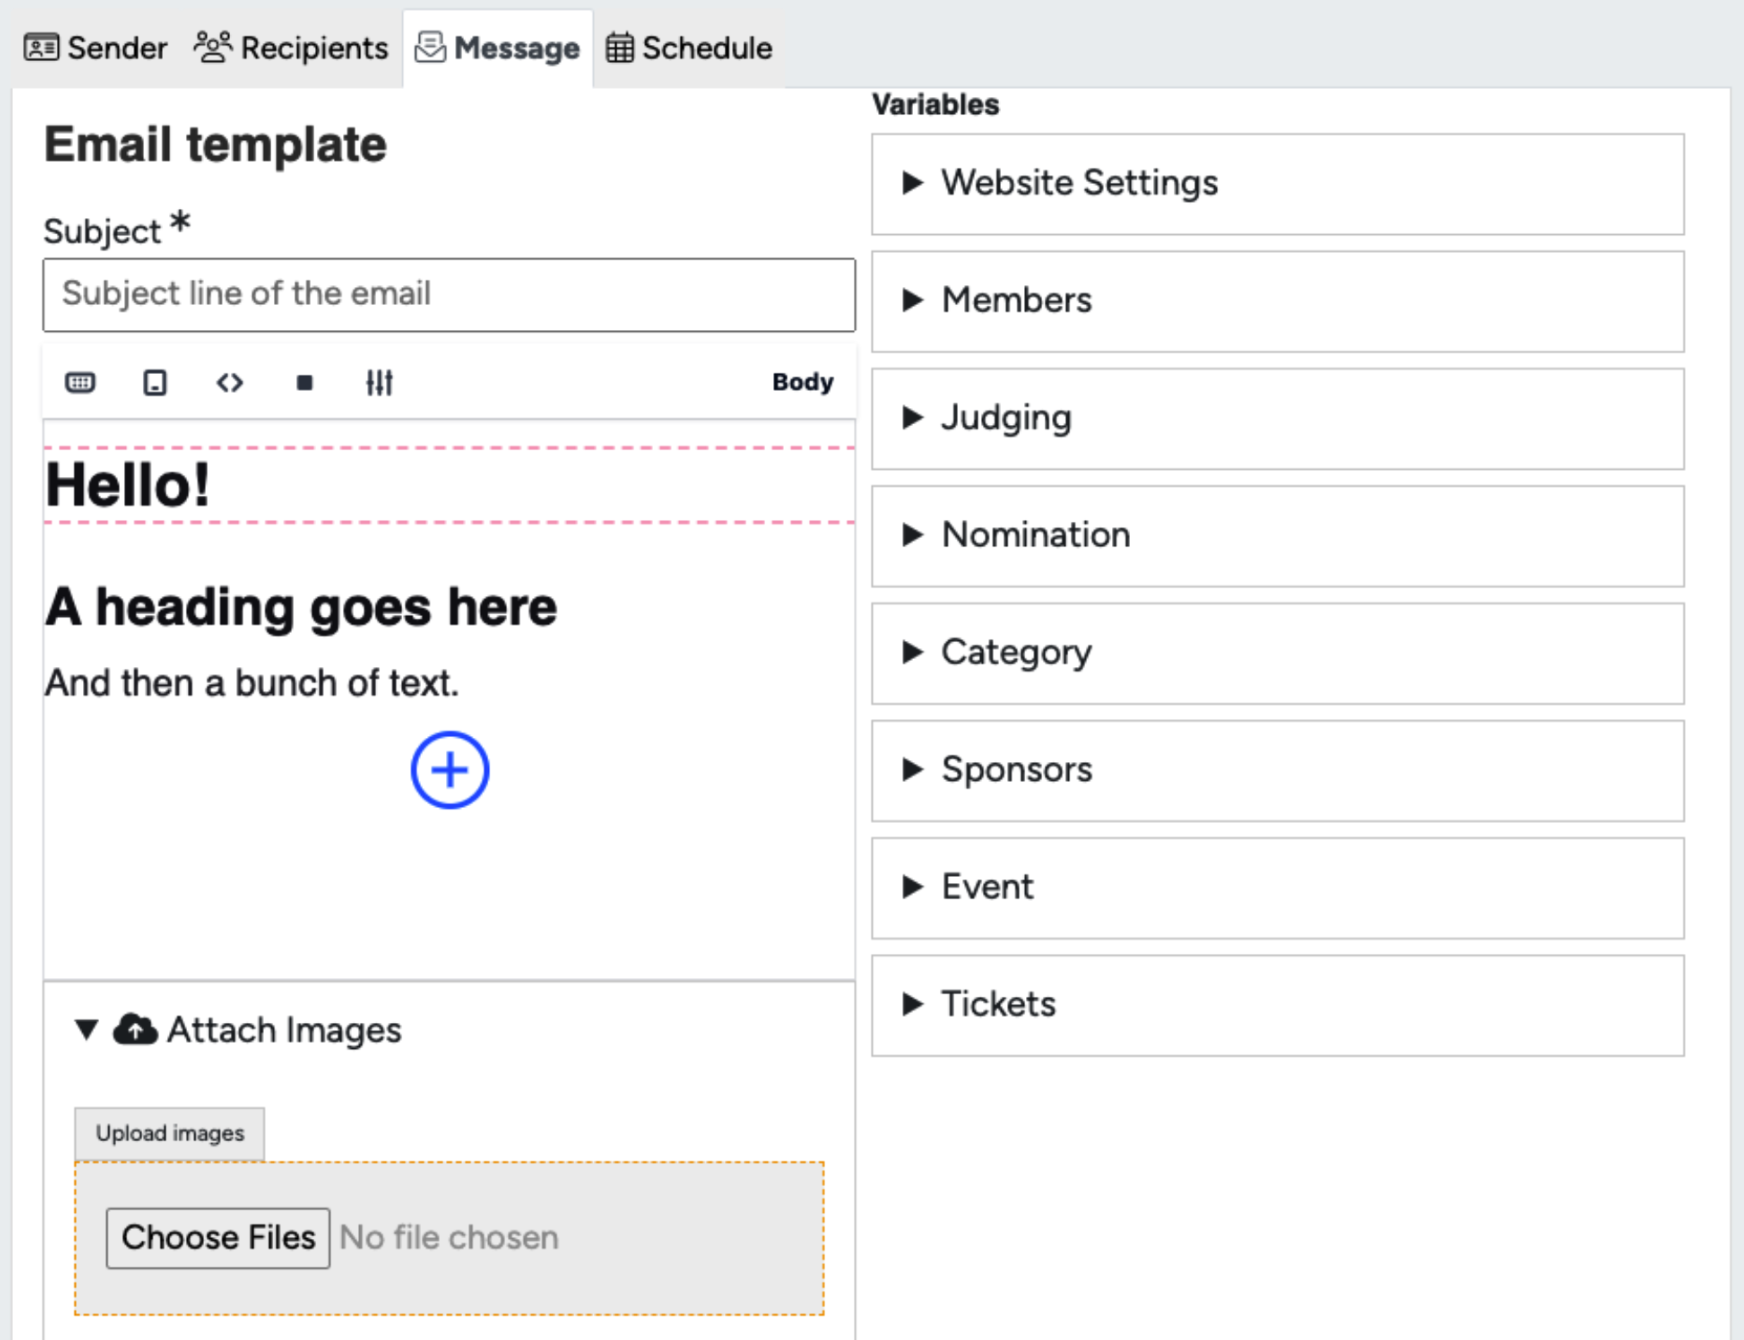
To see a full list of variables available to use, look through the dropdown menus on the right; the options here will change as is applicable to the email recipients. For example, in the image above ‘Nomination’ variables are an option. However if you are sending an email to Entrants, you will see an ‘Entry’ list.
As for the message of your notification, there are a lot of customization options.
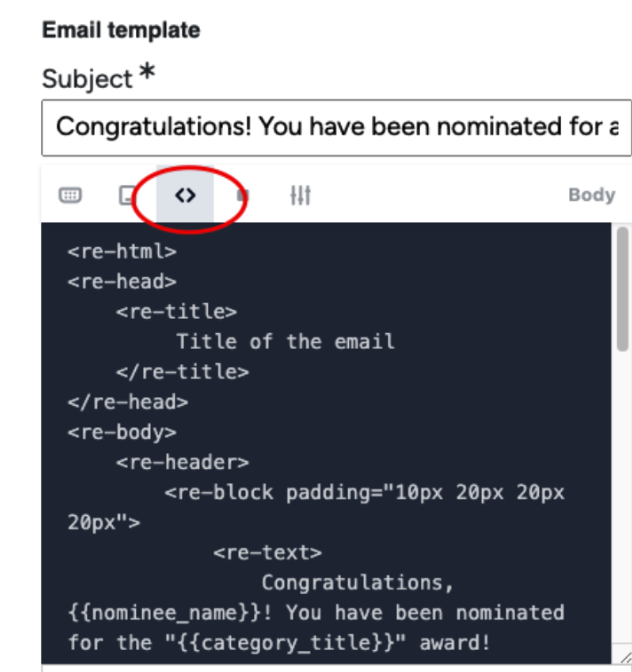
If you are proficient in code, feel free to jump over to the html view and make your email look perfect from there. If not, no worries, the default view will work just fine.
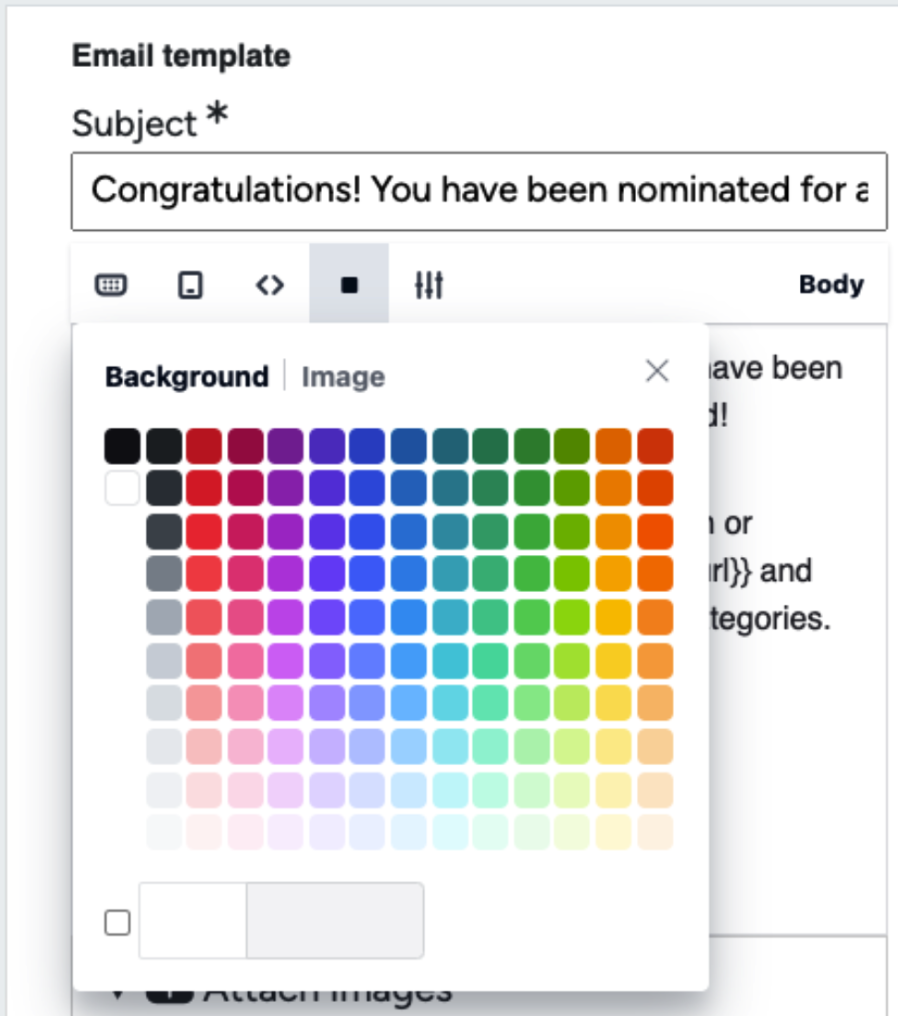
You can also add background colours and images to your emails, to fully match them to your branding.
Clicking into an area (Header, Body or Footer) reveals a ‘+’ button, which provides a long list of optional additions to your email.
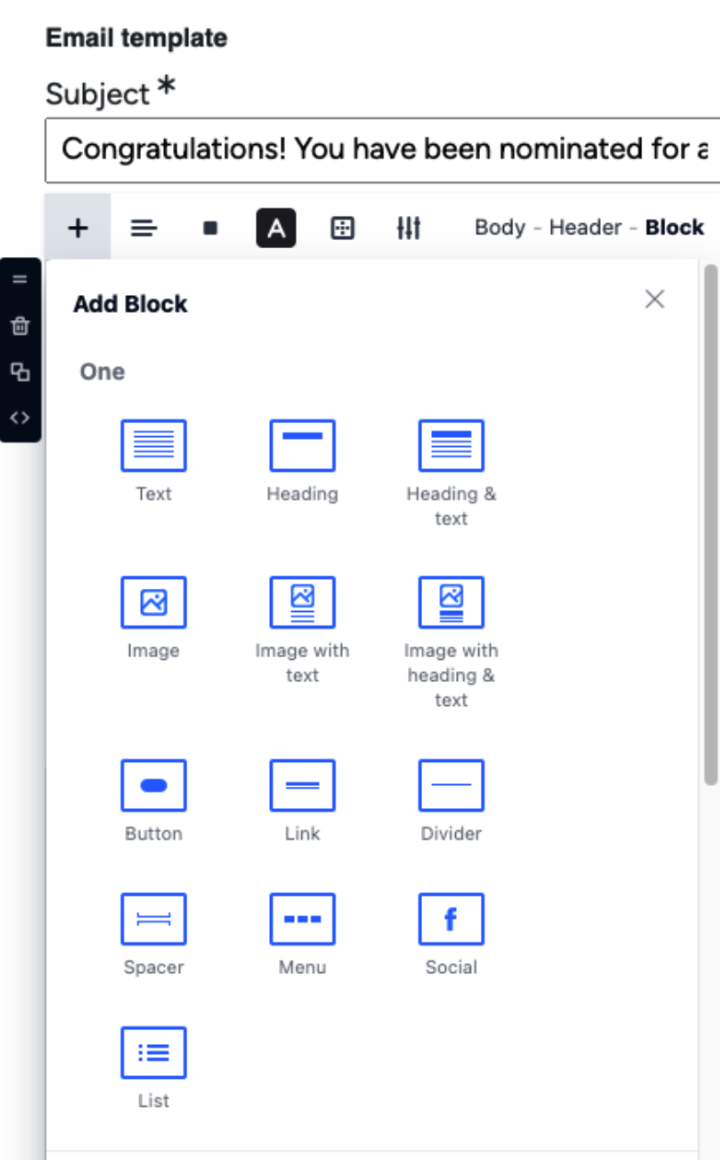
These blocks are divided into sections by the number of columns inserted when you choose them. They include text boxes, headings, images, and combinations of the three. As well you can add buttons, dividers, spacers, menus, lists and social icons. The two, three and four column options utilize all of these elements, just divided.
Quick note about images, when you add an image, it will insert a placeholder block.
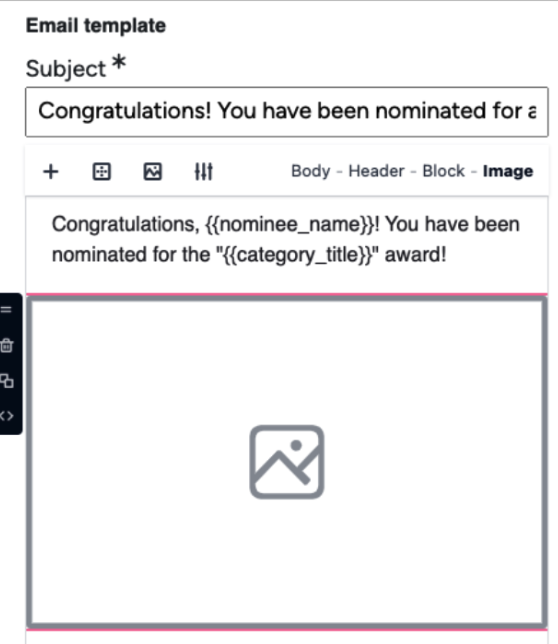
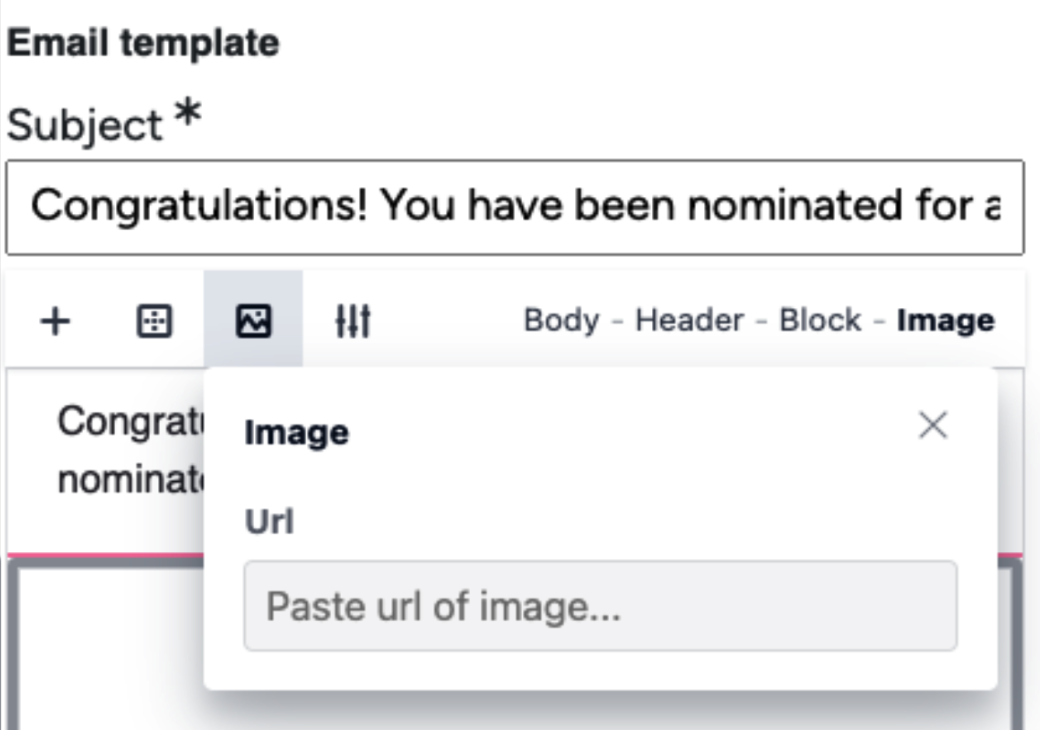
When you click on this placeholder, an image icon will appear above the text area, and when you select this icon, a textbox for a URL will appear. This URL comes from the image upload box underneath your email body.
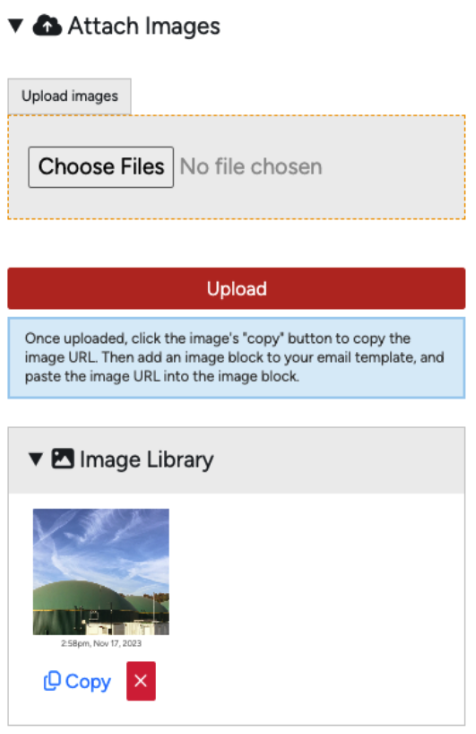
Once you’ve uploaded an image it will populate in your image library with a button to copy the URL. This is what you will want to paste back up in your image URL textbox.
Once you’ve added everything you want to see on your email, hit save and preview the changes. Note that the updates you’ve made will not appear in your preview until you’ve saved them!
Now let’s jump over to Campaigns. Start by adding a Campaign, and we will go through the creation process. The first settings you will see are the ‘Sender’ settings.
The Admin Title is just a way for you as the Admin to track what the purpose of the campaign is. This is not the subject line of your email, just an internal title.
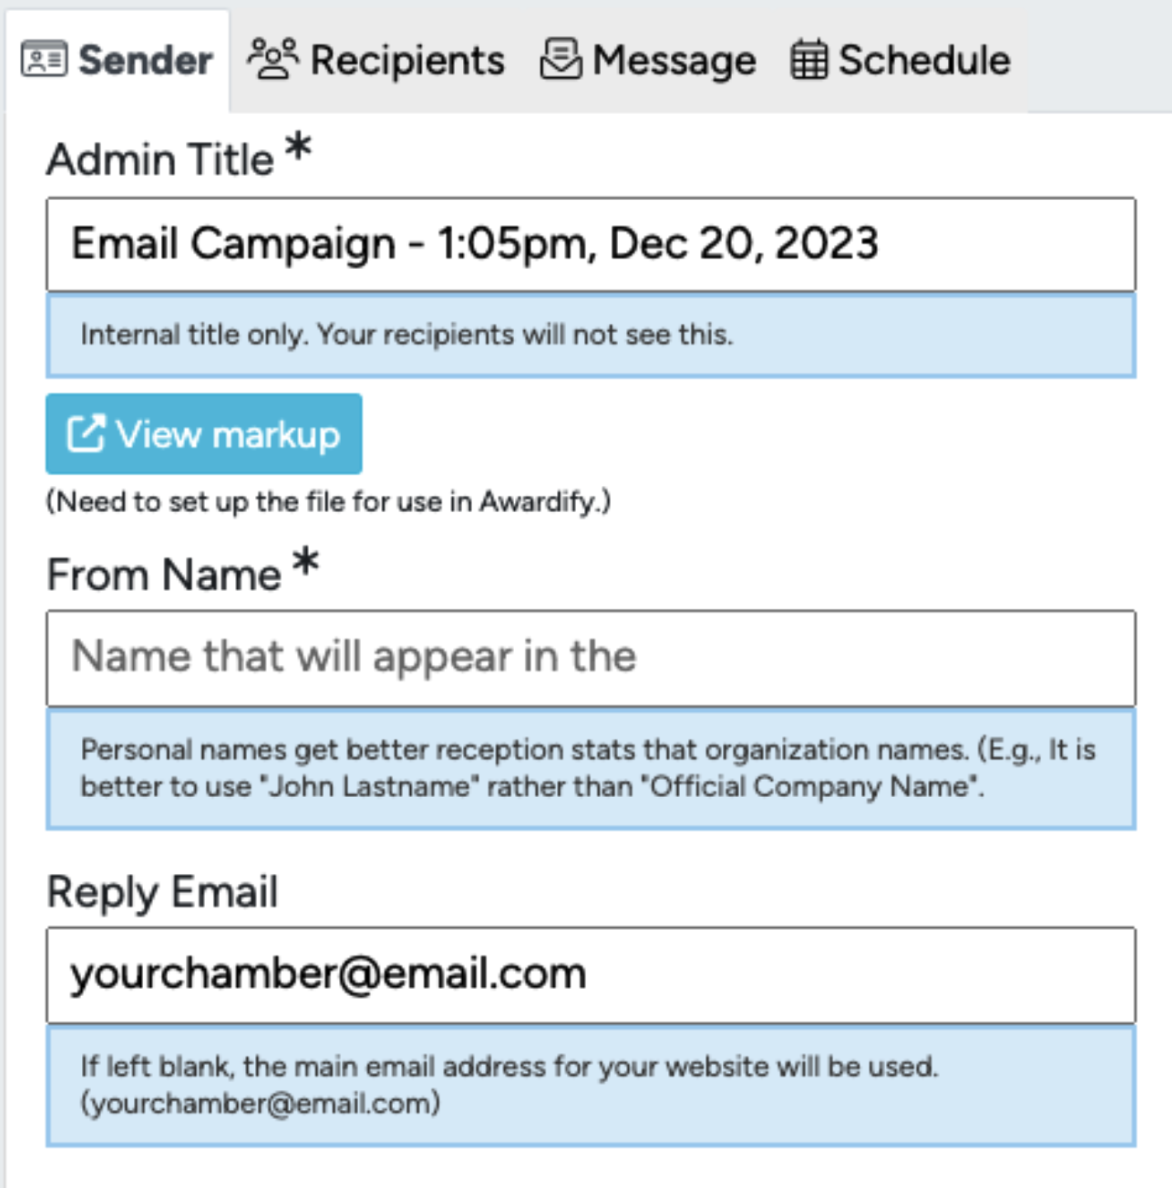
Then the ‘From Name’ adds a personal touch to your emails, they can be “from” your CEO, or yourself personally, or any individual who will help the message stand out to the recipient.
Lastly in this section is the reply email. If a recipient needs to respond to an email, the specified email address will receive the response.
Next you can select your Recipients: Entrants, Judges, Nominees, Sponsors or Event Attendees. Selecting any of these options will show that they can be further broken down into more specific entrants.
For example, you can sort Entrants by status, finalists or winners, or select individual entrants.
Under Nominees you can further divide by status or category.
At the bottom of Recipients you can CC anyone who may also need to be informed of the communication you are sending out.

The next stop is the Message area. This will be almost the exact same as the email builder for the nominations, with the Subject line, Building blocks for the content, and a full list of variables listed on the side. For instructions about all of the options here, jump back to the Notification section of this video.
The last tab in your Campaign is the Schedule.
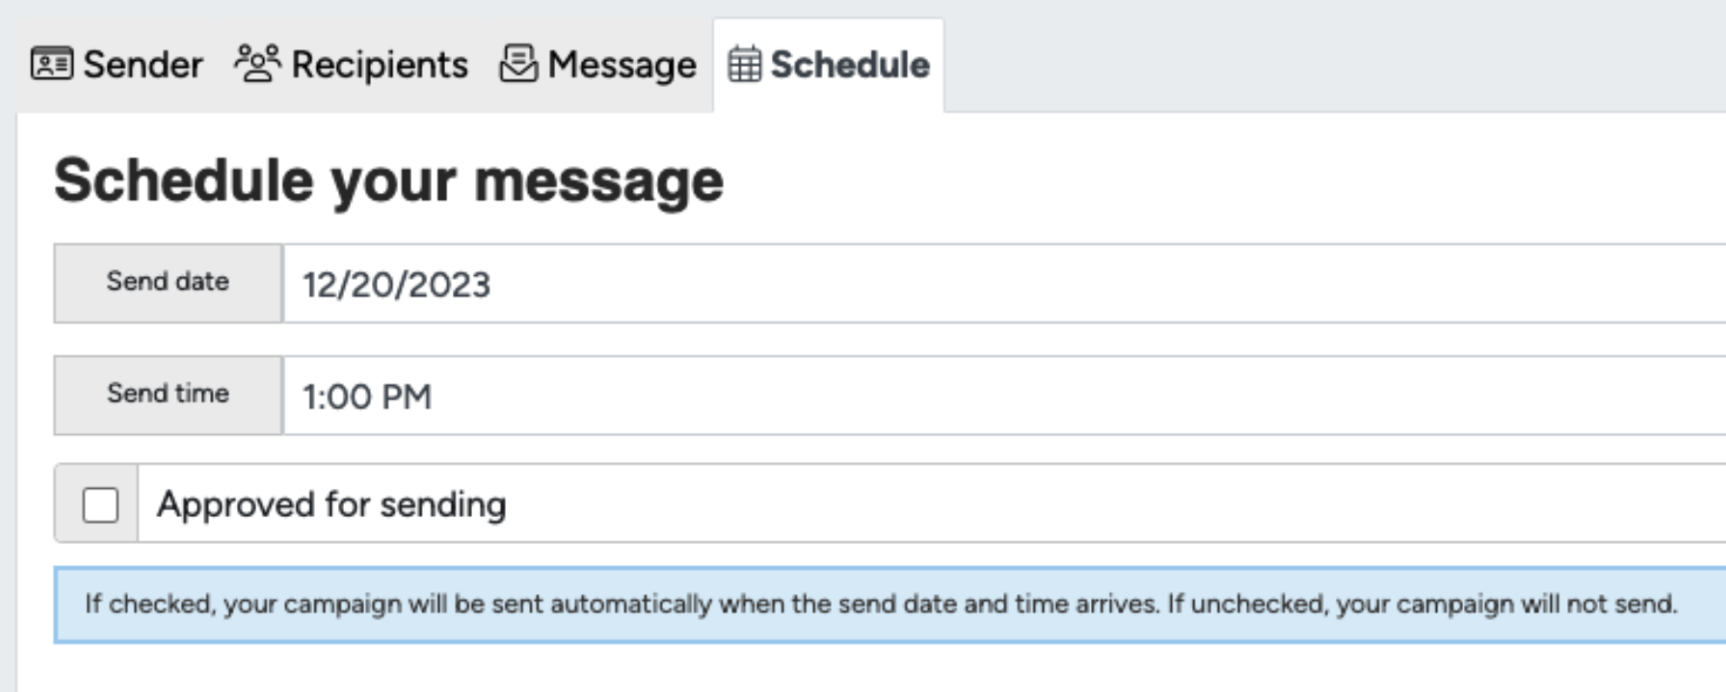
This allows you to set a date and time for your campaign, as well as an extra layer of approval in the checkbox. After creating and scheduling an email, it will not send unless approved.
