Setting up Categories
Read through the post below to learn how to set up your Award Categories, or watch the video to see the process. You can also download this post in pdf form: Setting up Categories
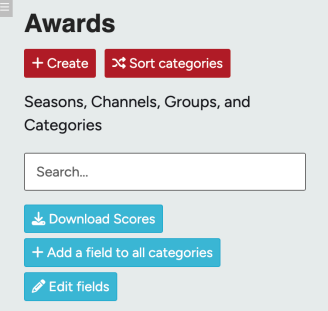
Let’s go through how to set up your categories and different settings you can apply. Open ‘Awards – Categories’ and start by creating a new category.

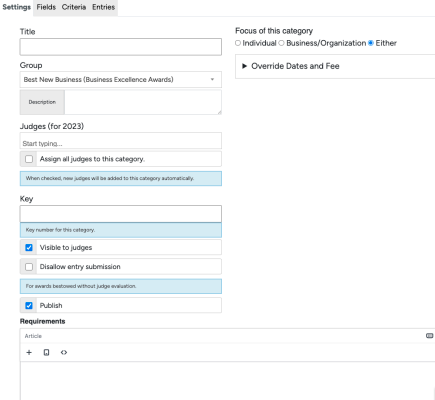
The basic settings for your category include the Title, assigning it to a group if applicable and giving your category a description. There is also an option here to add judges to your category. For more information about setting up judges, see the judges video and documents.
There are a few other optional settings for your categories. The Key number is an optional way to sort your categories so that they show up in a particular order both in the admin view and the public view on your website.
If you have an award that is bestowed instead of judged, you can hide specific categories from the view of the judges, or you can disallow submissions. This can be helpful when you would like an award to be seen by the public, but not have an entry form available.
The last option in the settings is the Requirements text box. List the requirements that the entrant must meet in order to fill out the form.
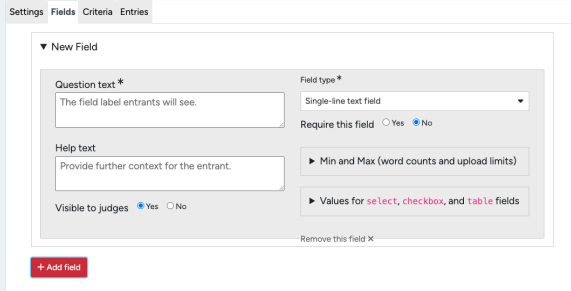
Next we will move over to the Fields tab, and begin this section by adding a field. ‘Fields’ are the questions your entrant will fill out to provide details and make their case to win the award.
First, enter the question text and help text into the corresponding textboxes. Then, there are many field types available to help you receive the exact information you are looking for from your entrant.
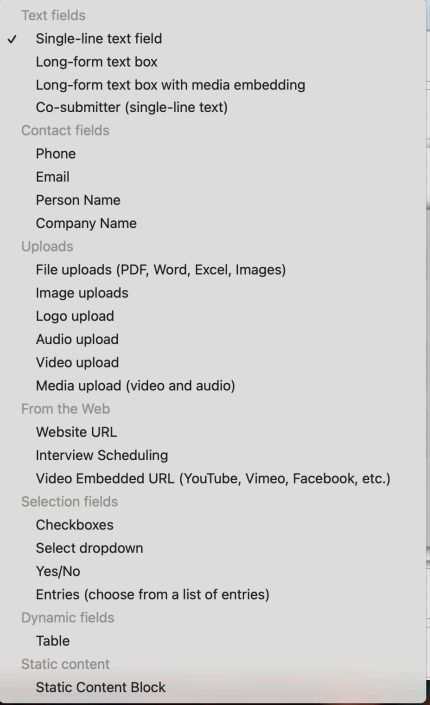
Text fields have multiple ‘levels’, a single line text field is the simplest level, and the most self-explanatory. This text field is for single sentence answers. Next is a long-form text box, this is for paragraph responses to your questions. A long-form text box with media embeds allows the entrant to add links to their entry.
Contact fields will only accept input that matches the required format, emails in the email field, phone numbers in the phone field, etc.
Upload fields can be limited to file type, including image, audio and video uploads. Web fields allow entrants to add links to various types of content. The customization for selection fields include checkboxes, a dropdown, Yes/No, and Entries.
Values for any of these selection fields are set in the Values textbox, separated by commas. The dynamic table fields are useful for questions that require repetitive information, for example contact information for multiple associate companies.
The last field is a static content field. This field is used to provide headings to separate sections of fields.
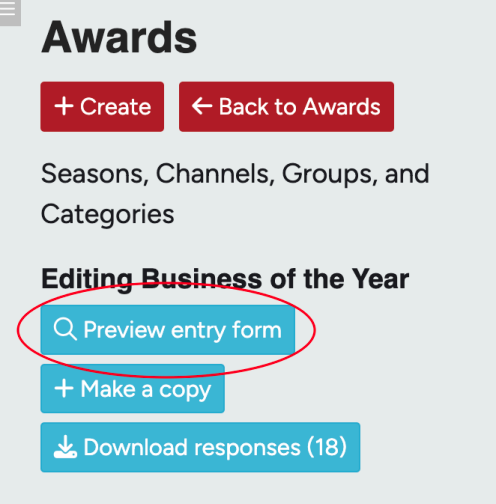
Use the ‘Preview entry form’ button to check on the layout of your form. After setting up fields, the next step is to set up the judging criteria.
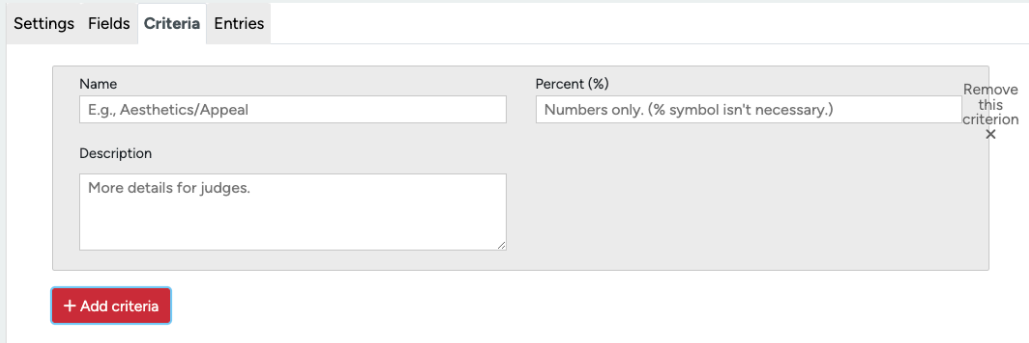
This is information that is available for the entrants to guide the answers in their forms, but more importantly for the judges to score each entry.
Each criteria has a few different elements. The name and the description provide details for the judges to understand what they should be looking for in the entries.
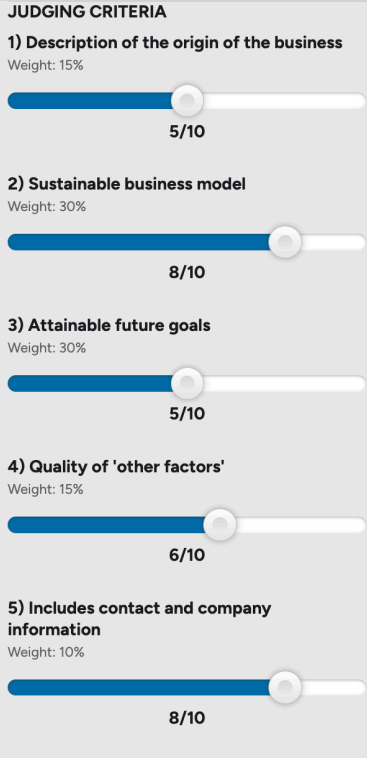
Each criteria needs to be a percentage weight, with the total percentage of the criteria equalling 100%. The judges will use a sliding scale to set their score.
This scale can be set from anywhere between 3 and ten points. (This can only be set once the criteria has been saved).
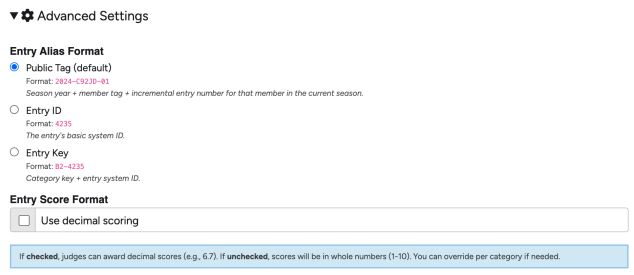
This scale can also be set to use decimal points, by going to Advanced Settings in the Season Settings and checking off ‘Use decimal scoring’.
Check out our video and document about setting up your judges next!
