Setting up Nominations
Read through the post below to learn how to set up Nominations, or watch the video to see the process. You can also download this post in pdf form: Setting up Nominations
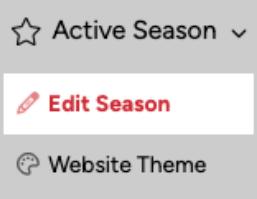
To set up nominations for your awards season, you will need to start on the ‘Edit Season’ page, under ‘Active Season’.
Using the Nomination dropdown, select ‘Activate public nominations’.

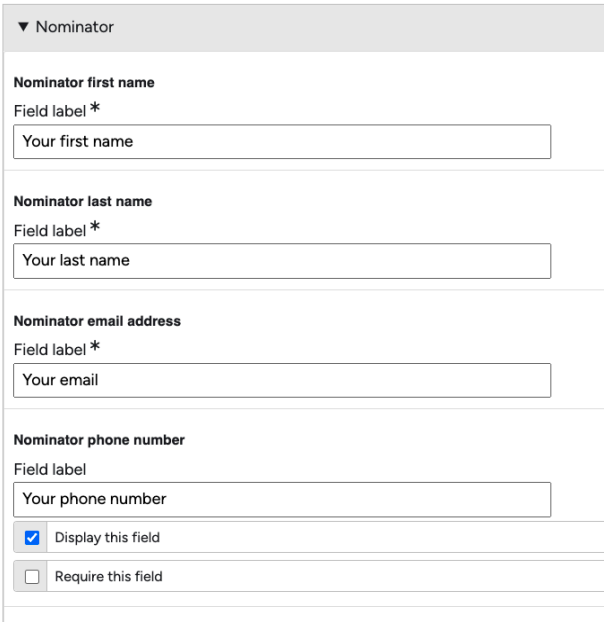
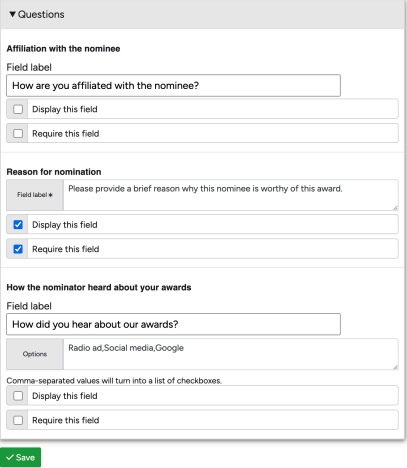
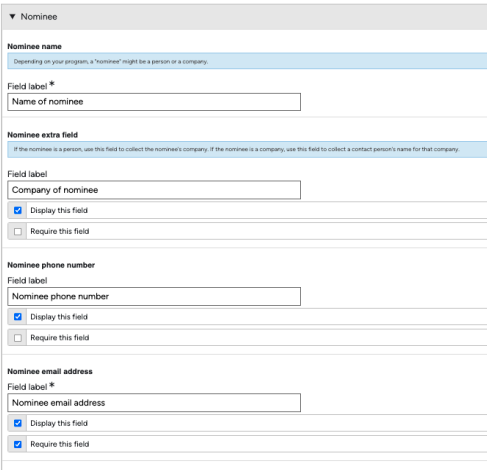
Opening the ‘Nomination form settings’ will show which questions are on the form by default for the nominators to fill out. There are a few customization options for this form. Any field label can be updated, and there are a few fields that can be displayed or removed. Nominator and Nominee contact information is always required.
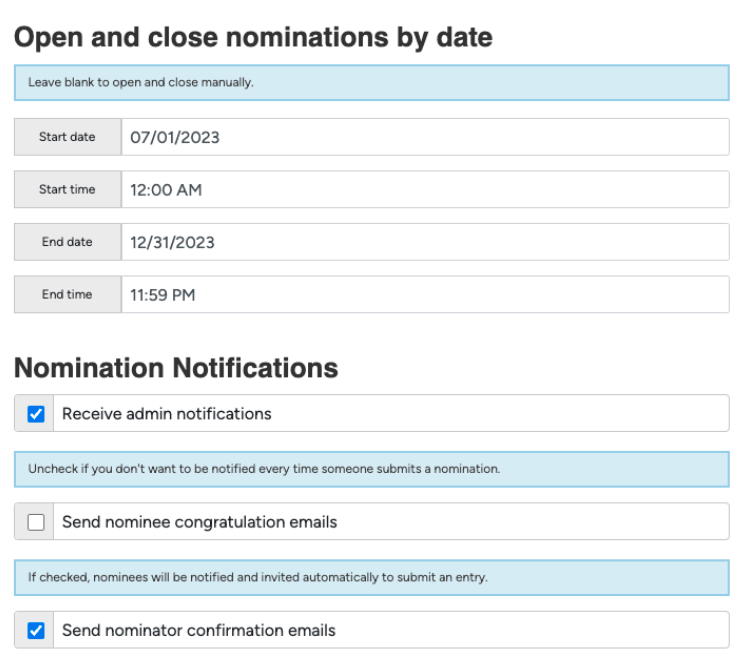
Back in the Nomination settings, you can set the dates for your nominations, as well as set the notifications that will be sent during the nomination process. For more information about setting up notifications, see the Messenger video and documents. The ‘Send nominee congratulation emails’ option should be used if you are not using ‘Nomination Approvals.’ We will cover that later.
Selecting either the ‘Edit nominee email’ button or the ‘Edit nominator email’ button will bring you over to the Messenger page to make updates to these email templates. The last setting in this area is setting a fee for nominations, which may or may not apply to your process.
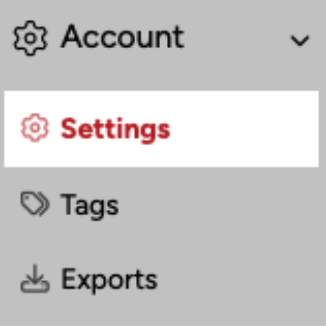
The next step for setting up your Nominations begins by opening the ‘Settings’ page under ‘Account’.
Scroll down until you see the Nominations section of this page.
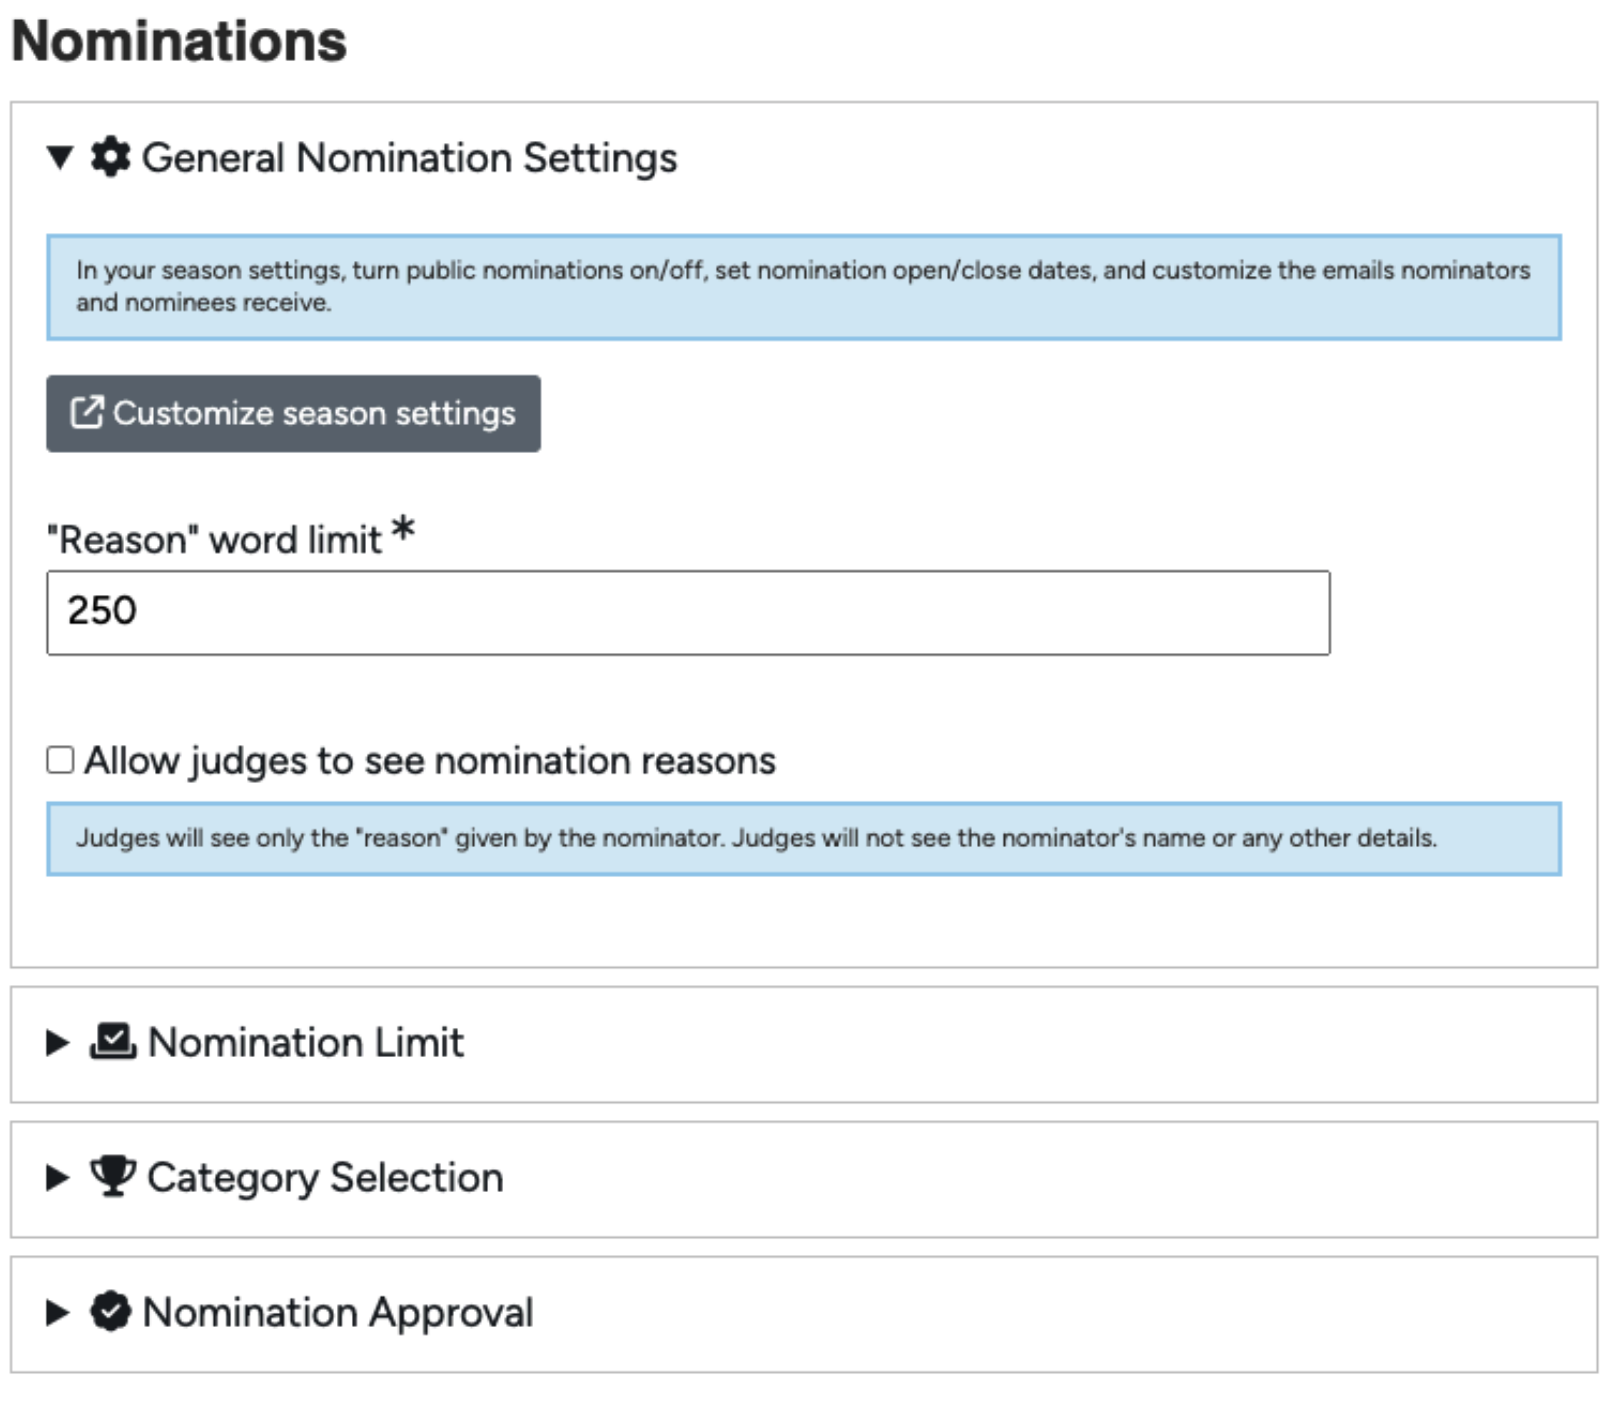
The General Nominations Settings let you set a word limit for the ‘Reason’ a nominator would like to submit their nomination.
If you would like to use the Nomination form as part of the entry, you can ‘Allow judges to see nomination reasons’. This will give the Judge extra information about why the entrant may be deserving of the Award.
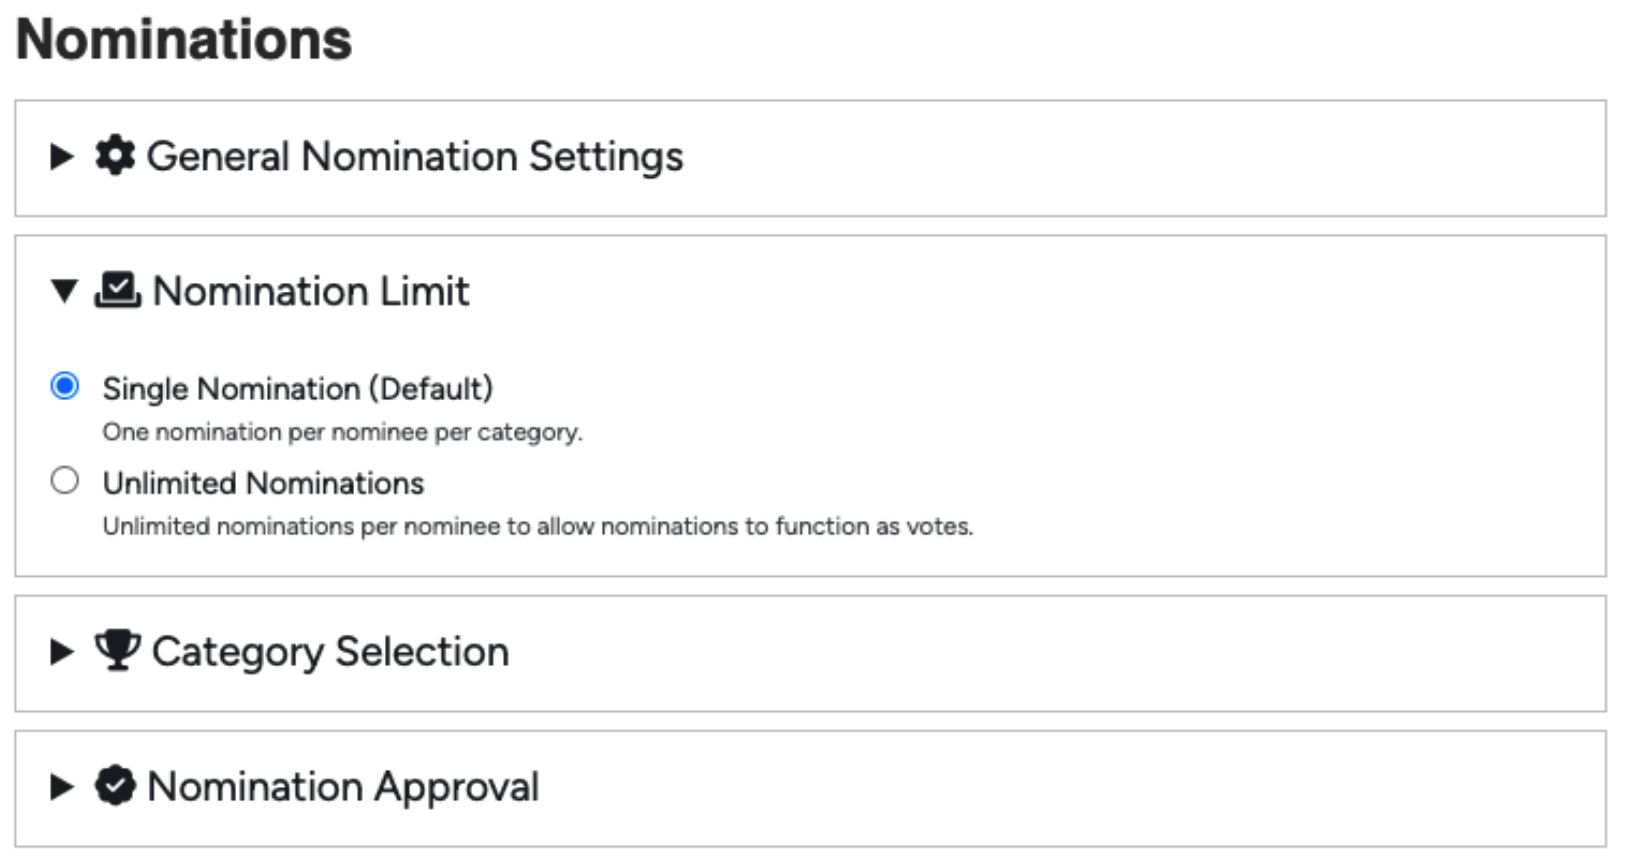
The Nomination Limit allows you to set either Single or Unlimited nominations per category. Single nomination means that a nominator can only nominate a person/business once per category.
If you set this to Unlimited, the nominator can submit any number of nominations for the same person/business in any category. The next setting is the category selection.
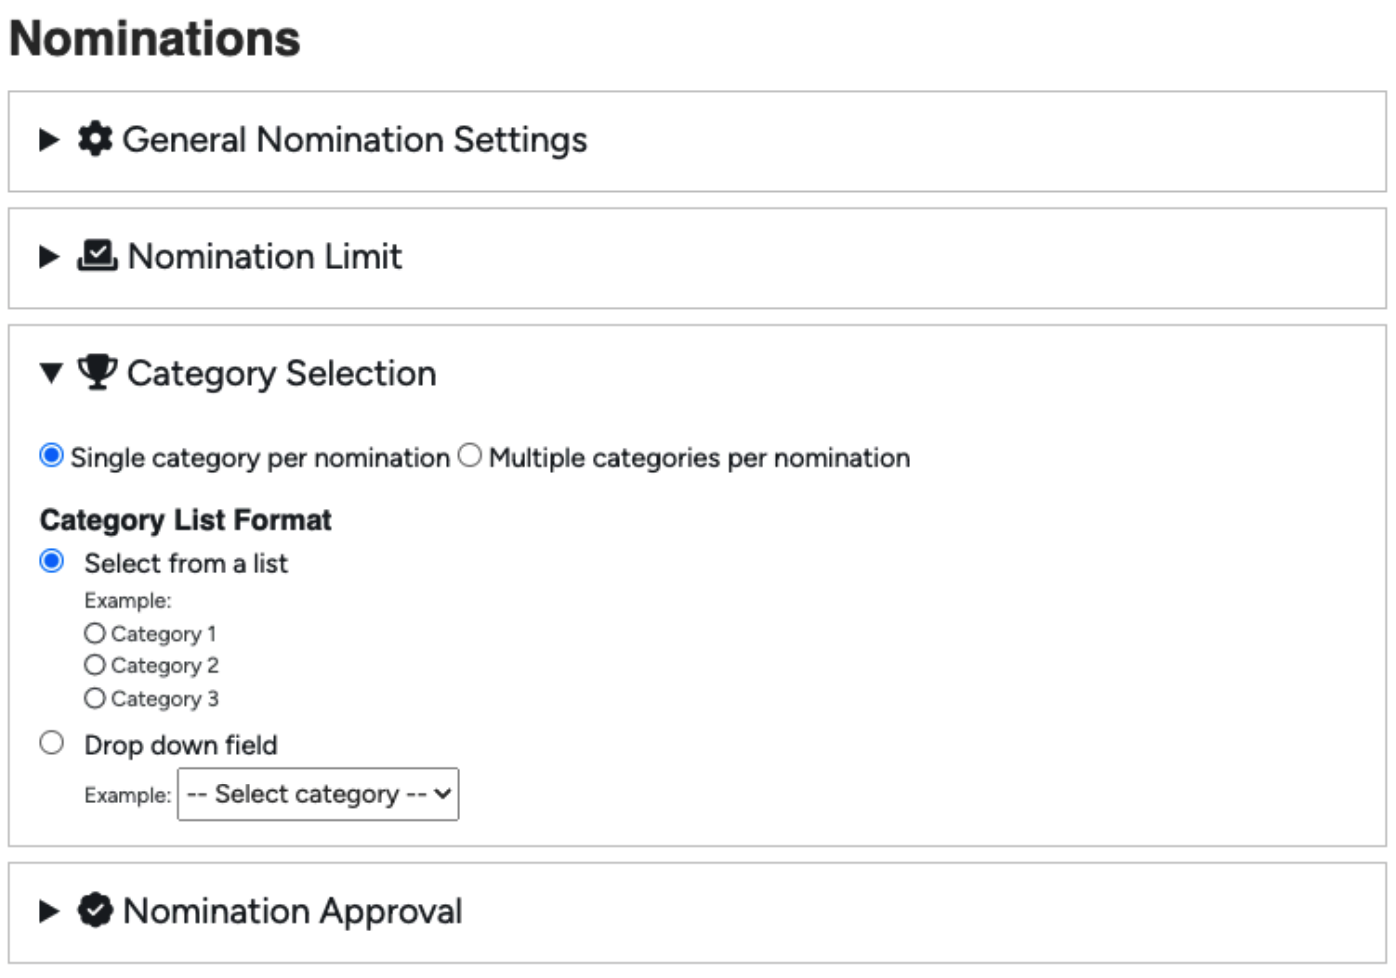
Once the nominator has chosen which person/business to nominate, the Category Selection setting allows them to select only one or multiple categories to nominate them for at one time.
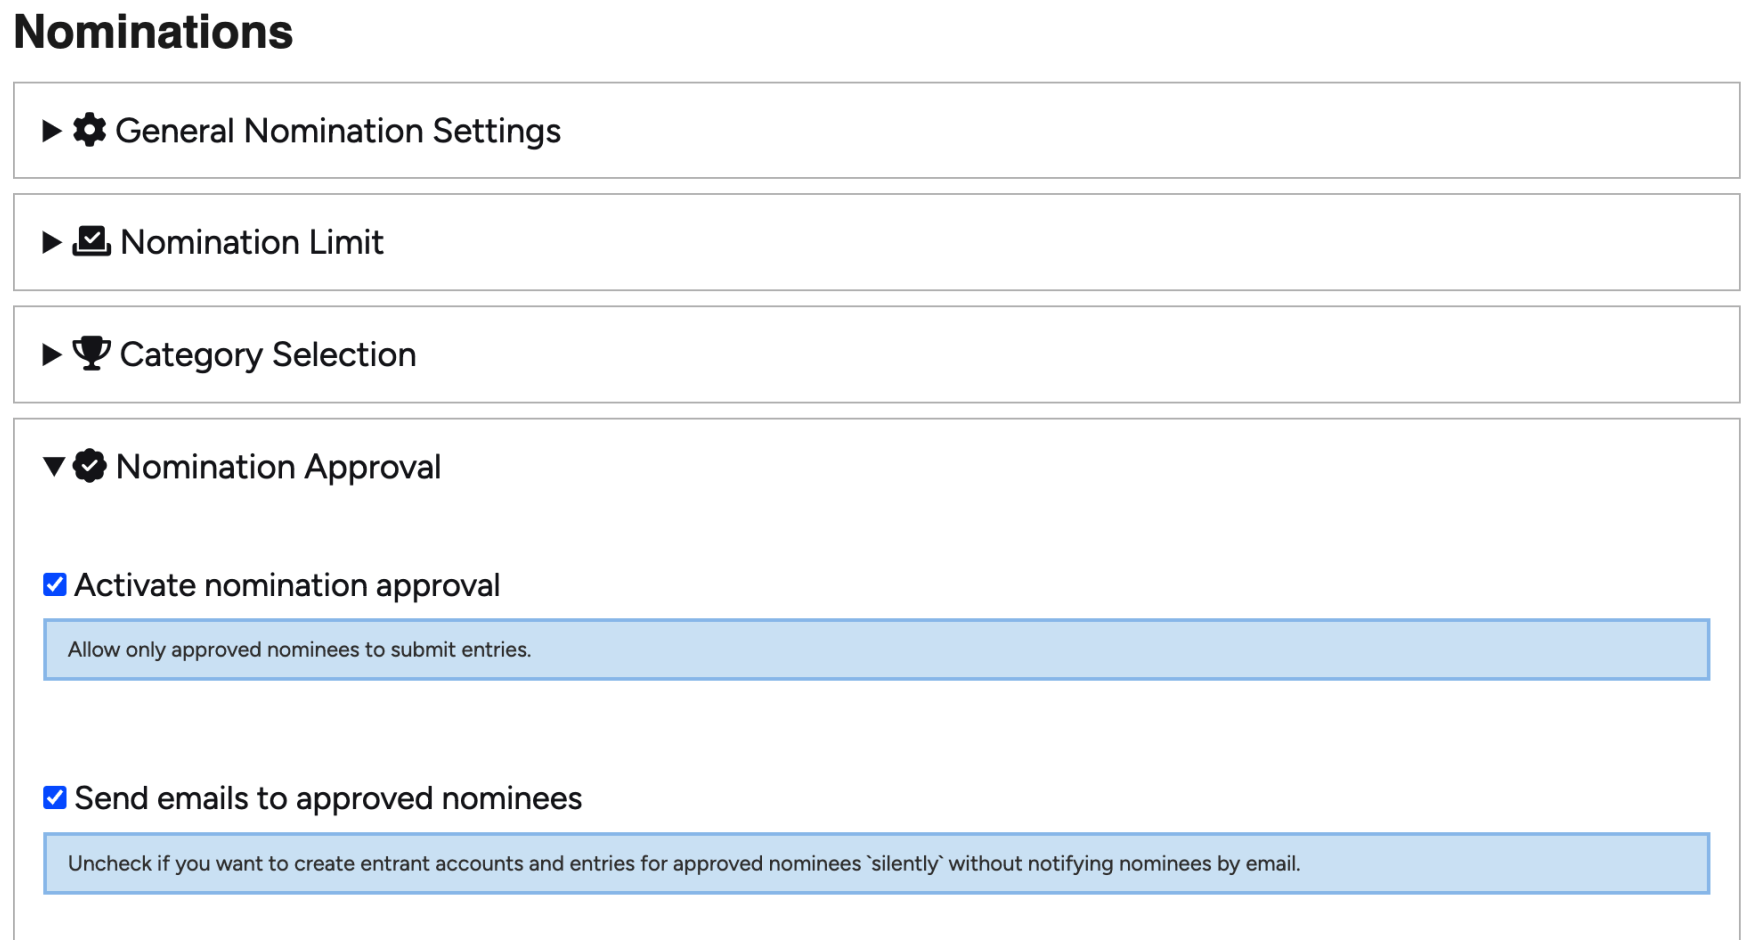
The last nomination setting in this area is the Nomination Approval.
By selecting this box, any nominations that come in will need to be approved before the nominee will be notified of their nomination.
When ‘Send emails to approved nominees’ is turned on, you will see a button in the Approved Nominee list to send this notification. We will look at this area next. If this setting is turned off, entries will be created for the nominees without their input.
This can be a useful setting if you do not require nominees to fill out an entry form.
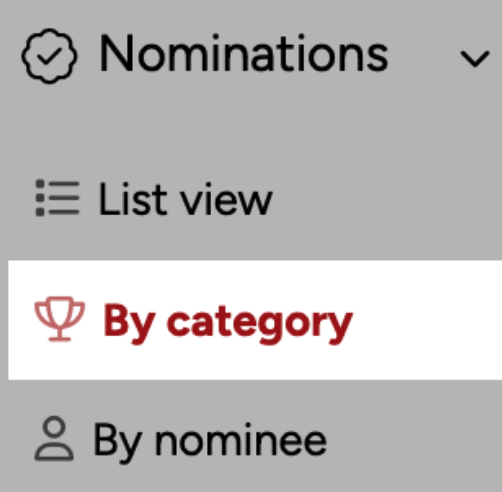
In order to see the nominations that have come in, go to the Nominations page. There are three different views for your nominations, either with a master list, by category, or by nominee if a person/business can be nominated for multiple categories. To see the nominations that need to be Approved, open ‘By category’.
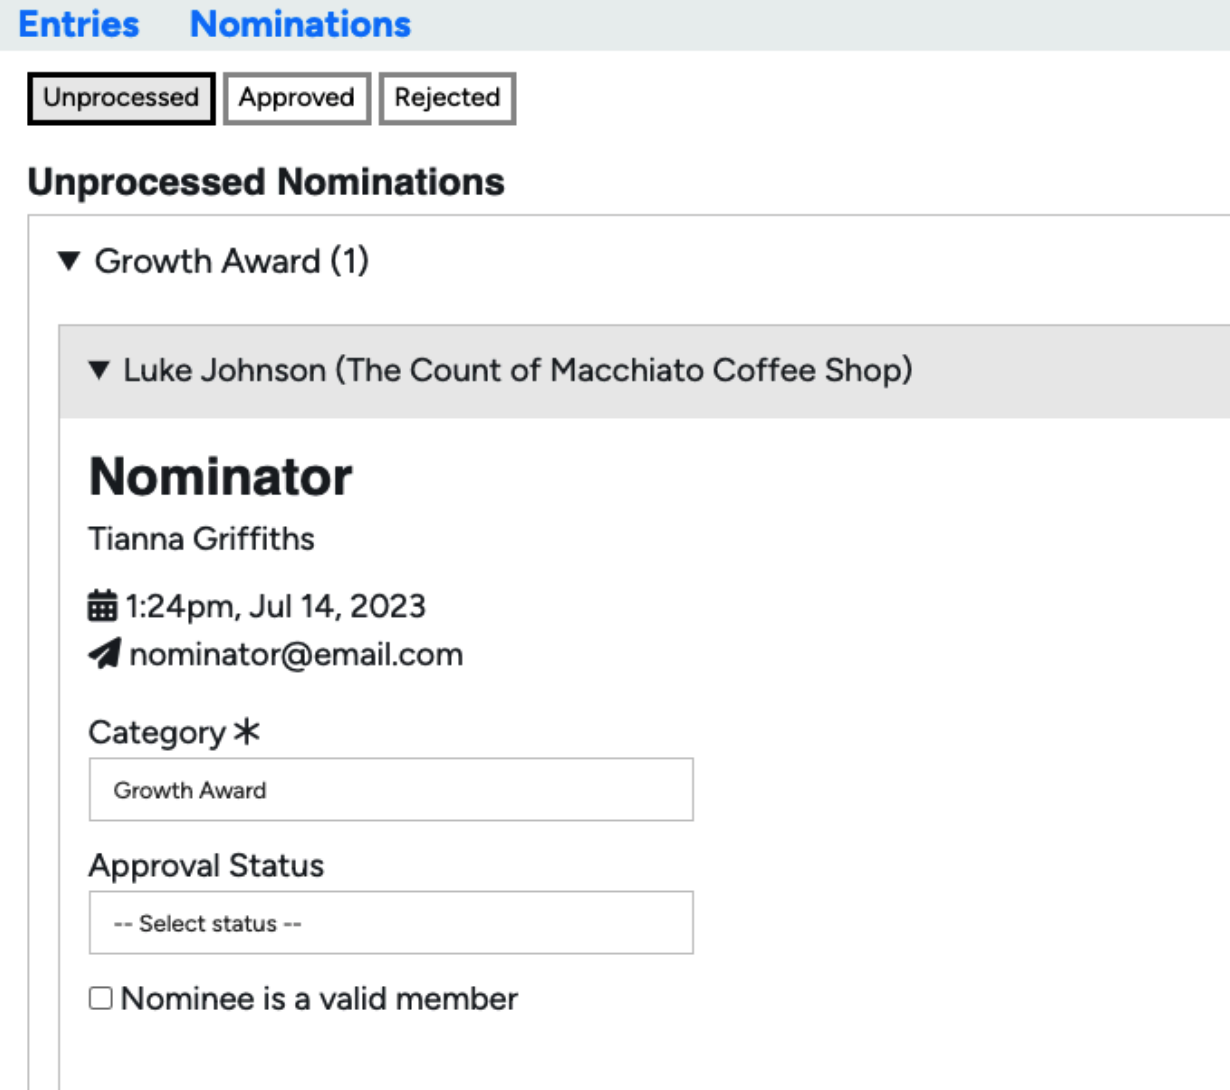
If you have Nomination Approval turned on, this page shows your nominees divided by status: ‘Unprocessed’, ‘Approved’ and ‘Rejected’.
Opening an Unprocessed nomination lets you set its ‘Approval Status’. After reviewing the contents of the nomination, decide whether it should be Approved or Rejected.
If Nomination Approval is turned off, you will simply see the list of Nominations.
After reviewing and approving all deserving nominations, head over to the Approved tab. You should see red textboxes saying ‘# to be created’.
This is telling you that there are Nominees who need to be notified of their new accounts. At the end of the Approved Nominations list you will see a ‘Notify nominees now’ button, along with a few buttons to allow you to customize the emails that will be sent.

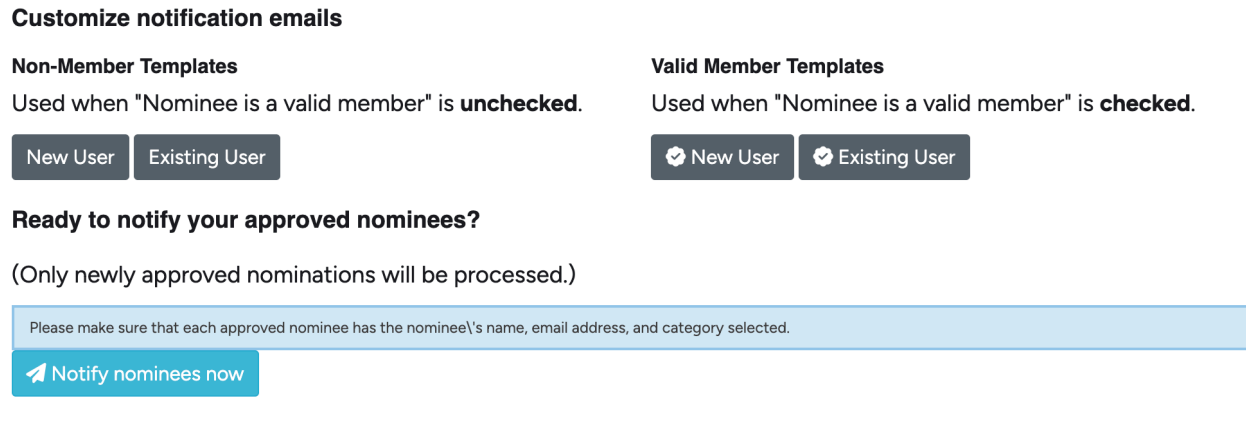
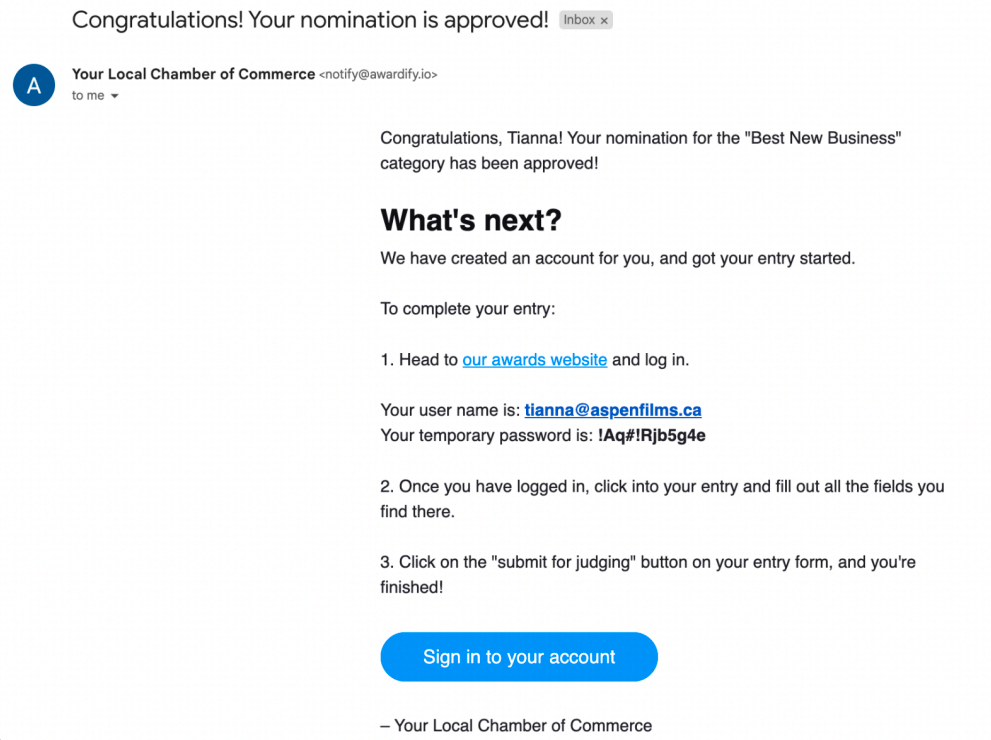
If you are using Member Numbers in your Nomination form as a way to vet nominees, those will be checked here, and the corresponding email sent out. If that is not a part of your process, simply disregard. The ‘New User’ email will go to individuals who have not created an account, the ‘Existing User’ email will go to those who have an account, perhaps as part of a previous nomination or Awards Season. You can edit either of the messages by clicking those buttons.
Once the email messages have been updated, hit ‘Notify nominees now’. This email will congratulate them on their nomination and provide instructions on how to fill out their entry forms.
If you are operating without Nomination Approval you will see a dropdown option in your category view for ‘Nominees without accounts.’
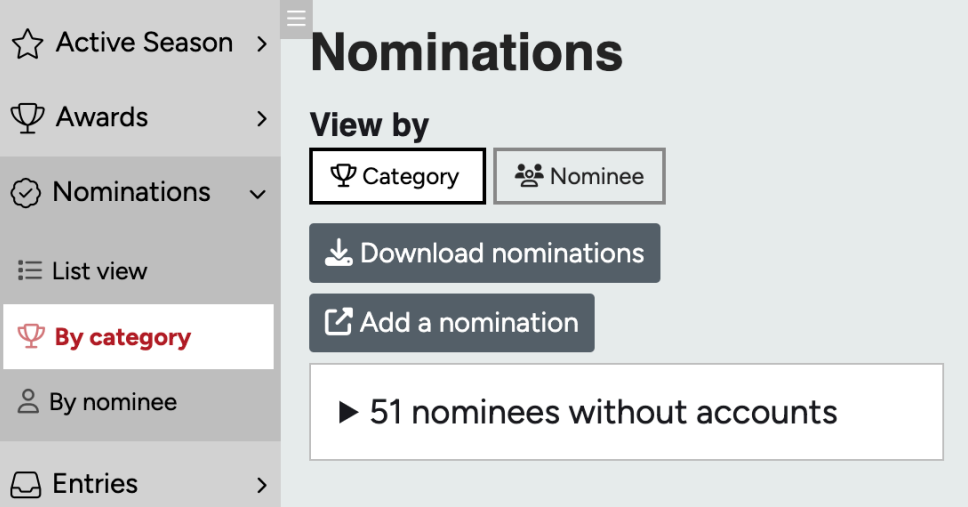
This list can help you know if Nominees are seeing and responding to their ‘Congratulation’ emails.
