Setting up your Gala Event and Tickets
Read through the post below to learn how to set up your Gala Event details, or watch the video to see the process. You can also download this post in pdf form: Setting up your Gala
The pinnacle of most Award Seasons is the Gala event. You may use a different name for your final event, but the purpose is the same: to celebrate your winners and highlight their accomplishments. All information added in these Gala Event settings will be auto-populated on your Event webpage. Let’s walk through them together. Set up your events by going to ‘Events- Gala Event’.
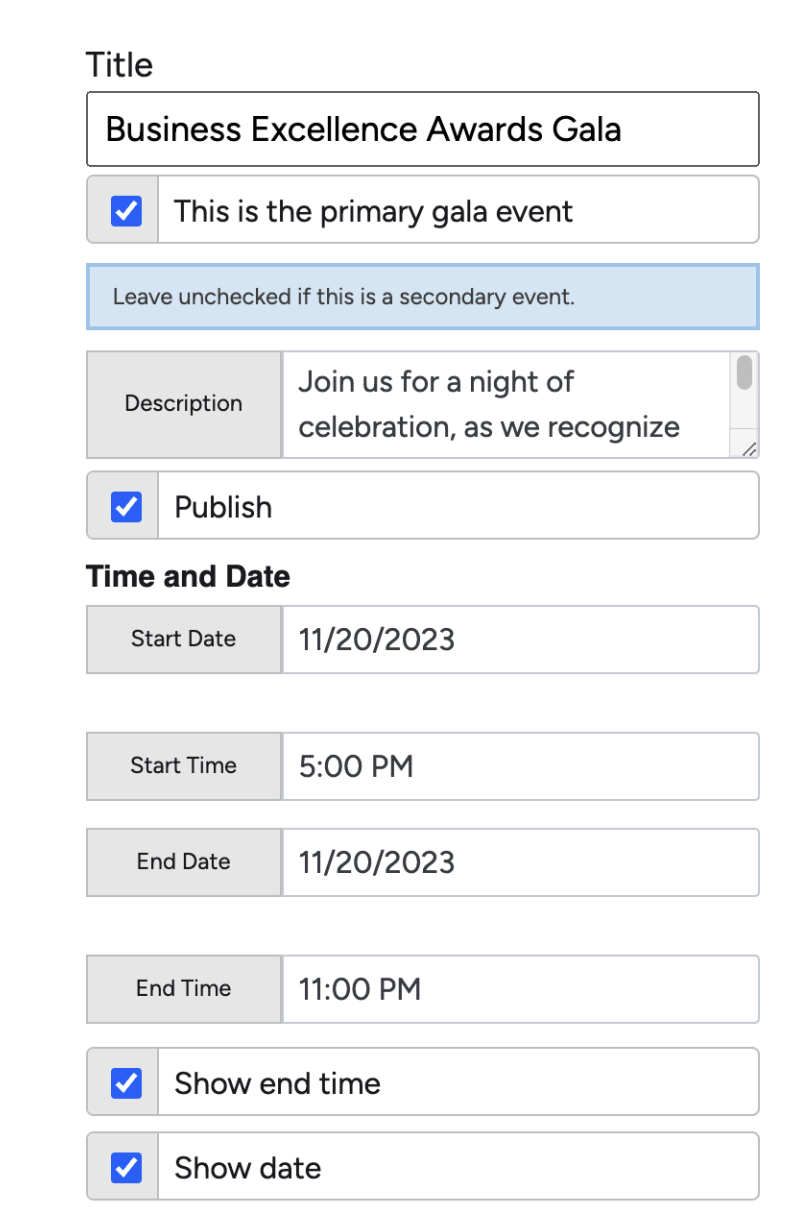
Step one is to give your main event a Title, and mark it as the primary event. If you are hosting other events during your season, then they will not be your primary event. Add a brief description to your event, and if you would like it to be visible to the public on your website, select ‘Publish’. Next set your start and end times and dates.
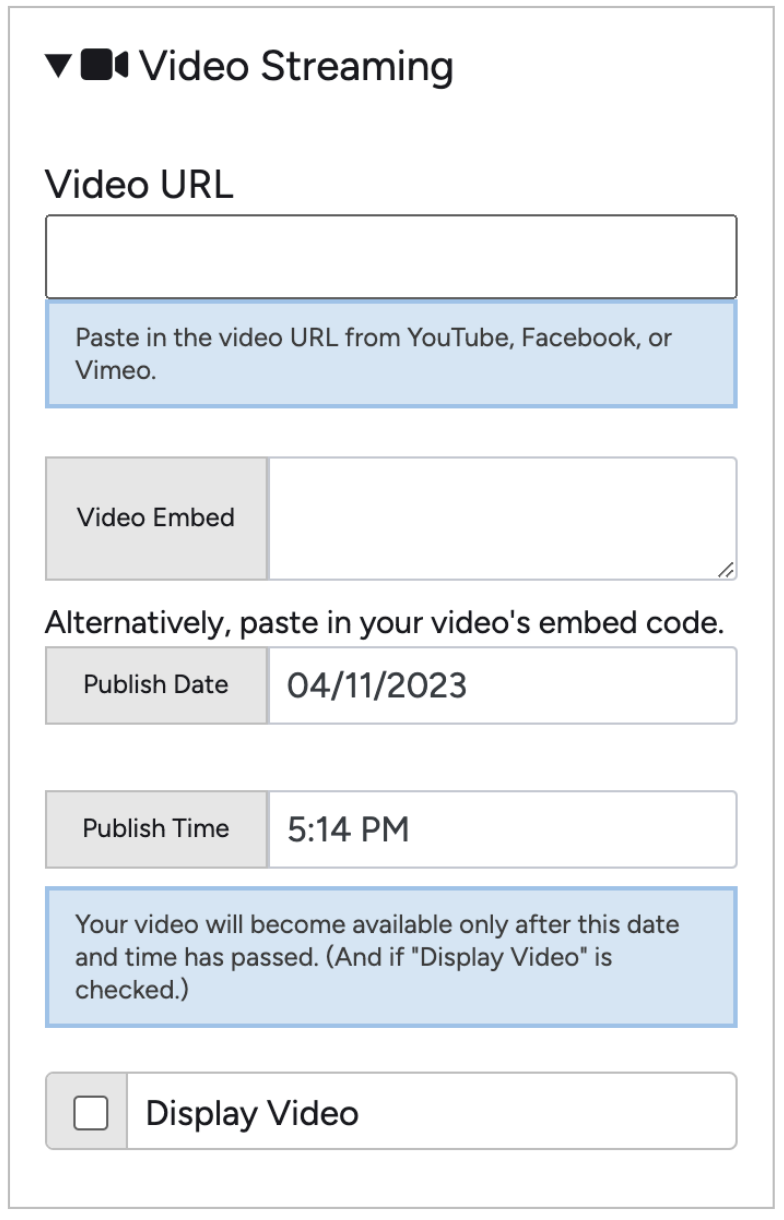
If you are streaming your event add the link to your future livestream, or embed the video. The difference is that pasting in a link will take your visitors off of your Awardify site, to your
video platform (for example youtube, vimeo or facebook). The embed link will keep visitors on your Awardify site and they will be able to watch the event from there.
If you would like your event video to be available to view after the big day, you can select a Publish date and Display video. This will allow visitors to watch back the event for as long as you leave it ‘Displayed’. The Embed Code option can be used for any external widgets that you would like to add to this page, for example a calendar or form.
.

The photo gallery is a great way to show the theme of your event, the venue, or the dress code.The link below the photo gallery will take you to a page where you can set up the photo gallery. If you don’t want to create a full gallery, but just add a few images to your page, use the photo upload option in the Body content.
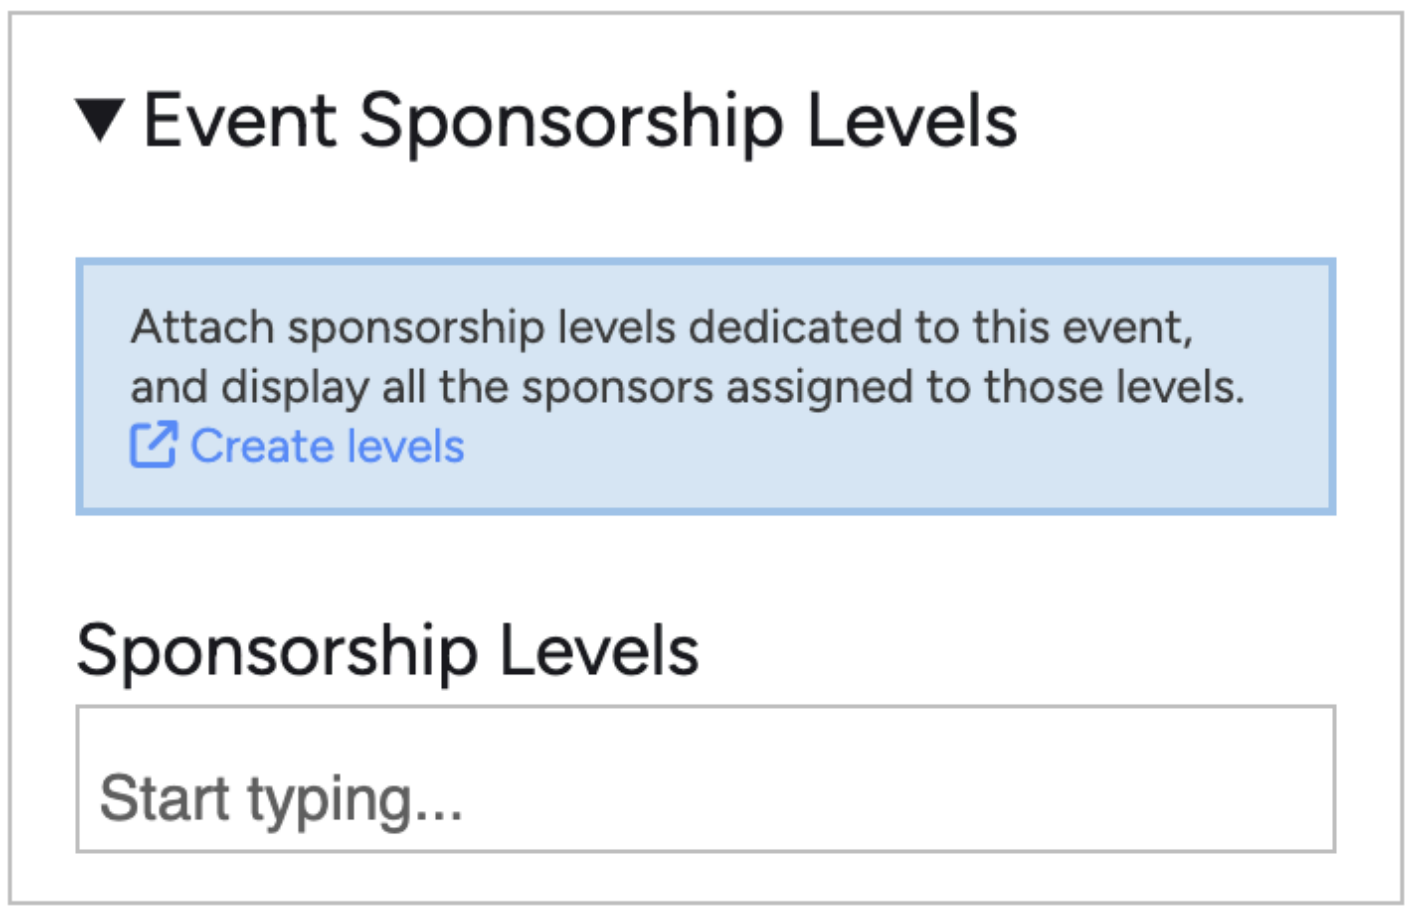
If your Event has Sponsors that you would like to display, you can add those here. For more information about setting up your Sponsors, see ‘Sponsors’.
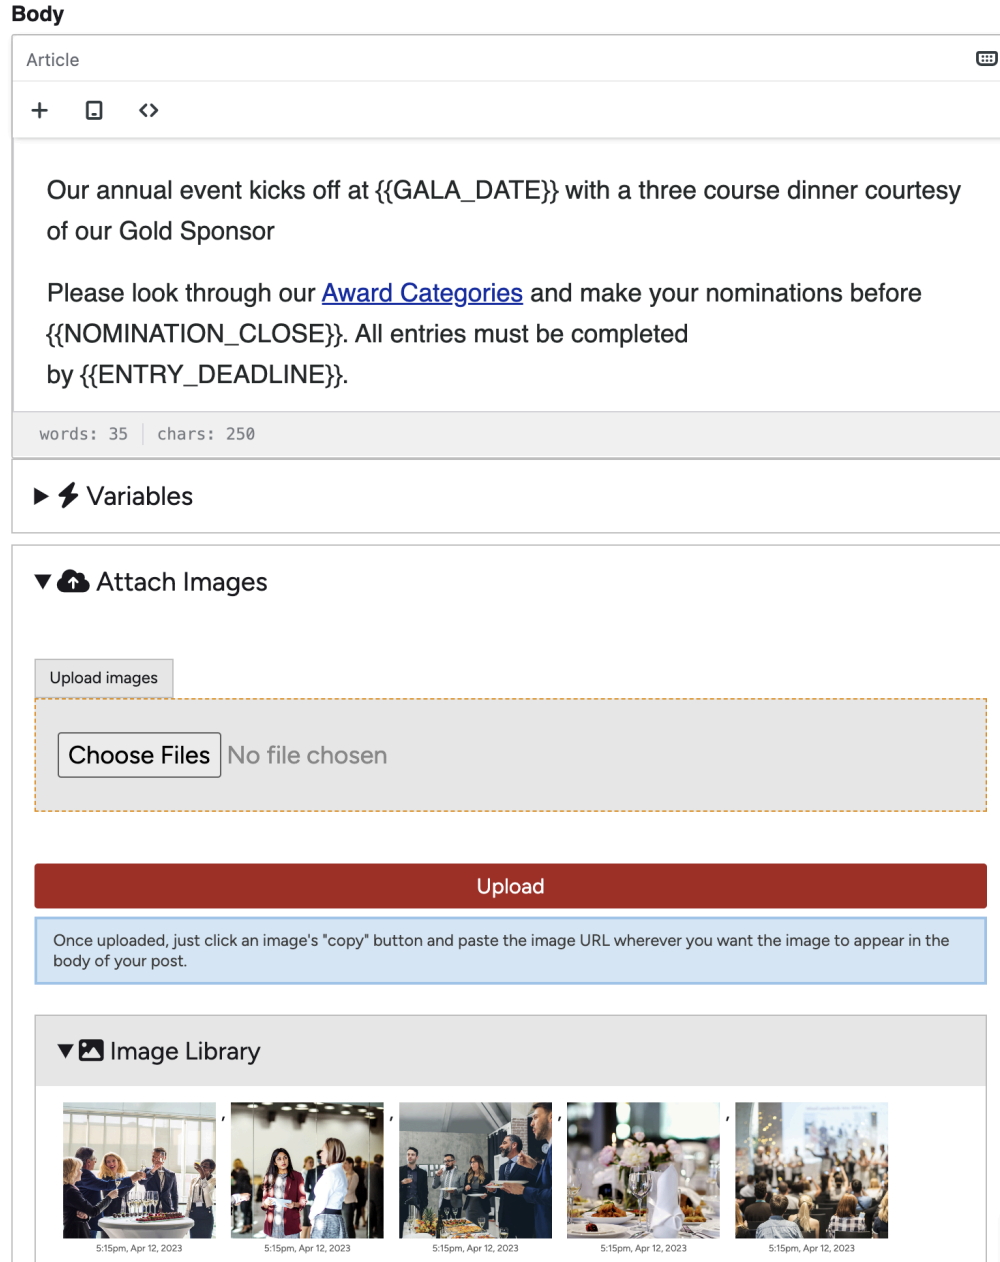
As with all Pages, there is an area here for Body content. Uploading images here will give you a URL that you can paste into your Body content and adjust however you want.
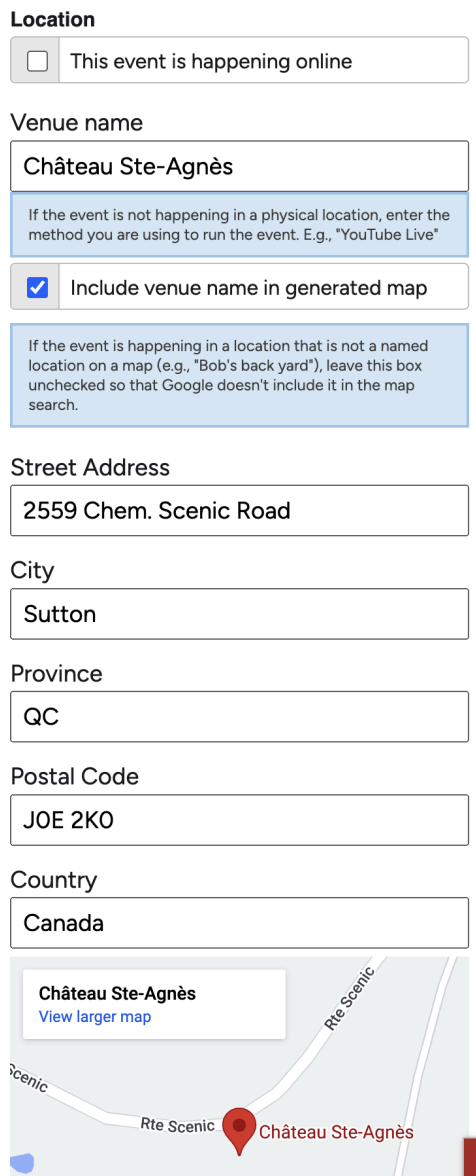
Back up at the top of The Gala Event page, there is a checkbox if you are having a strictly virtual event. If not, enter your event address and if you would like you can display a map on this page to give your visitors an easy way to get directions.
Next, let’s move over to the Tickets tab.

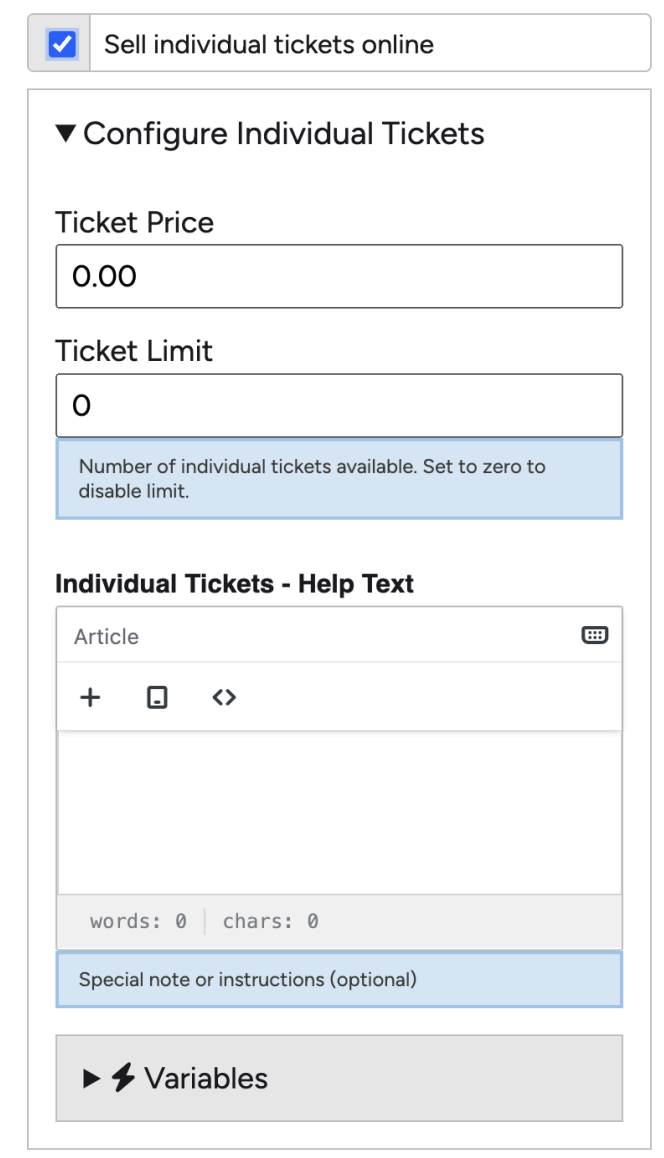
There are two ways to sell
tickets for your event; with
Individual tickets and/or by
Table. For individual tickets,
set the price and the
number of tickets available.
If you have any special
instructions for purchasing
tickets (For example, a limit
per company) place that
information in the Help Text.
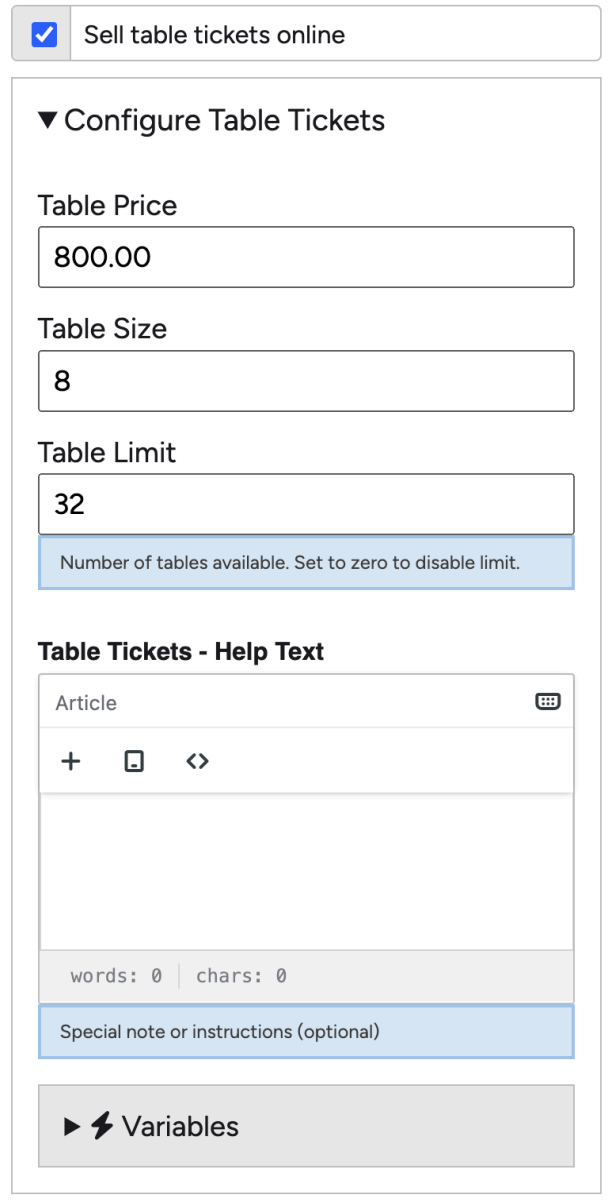
Table tickets are set up in the same way. Set a table price as well as table size, and then a limit for the number of tables available in your venue. Again there is a spot for Help Text here.
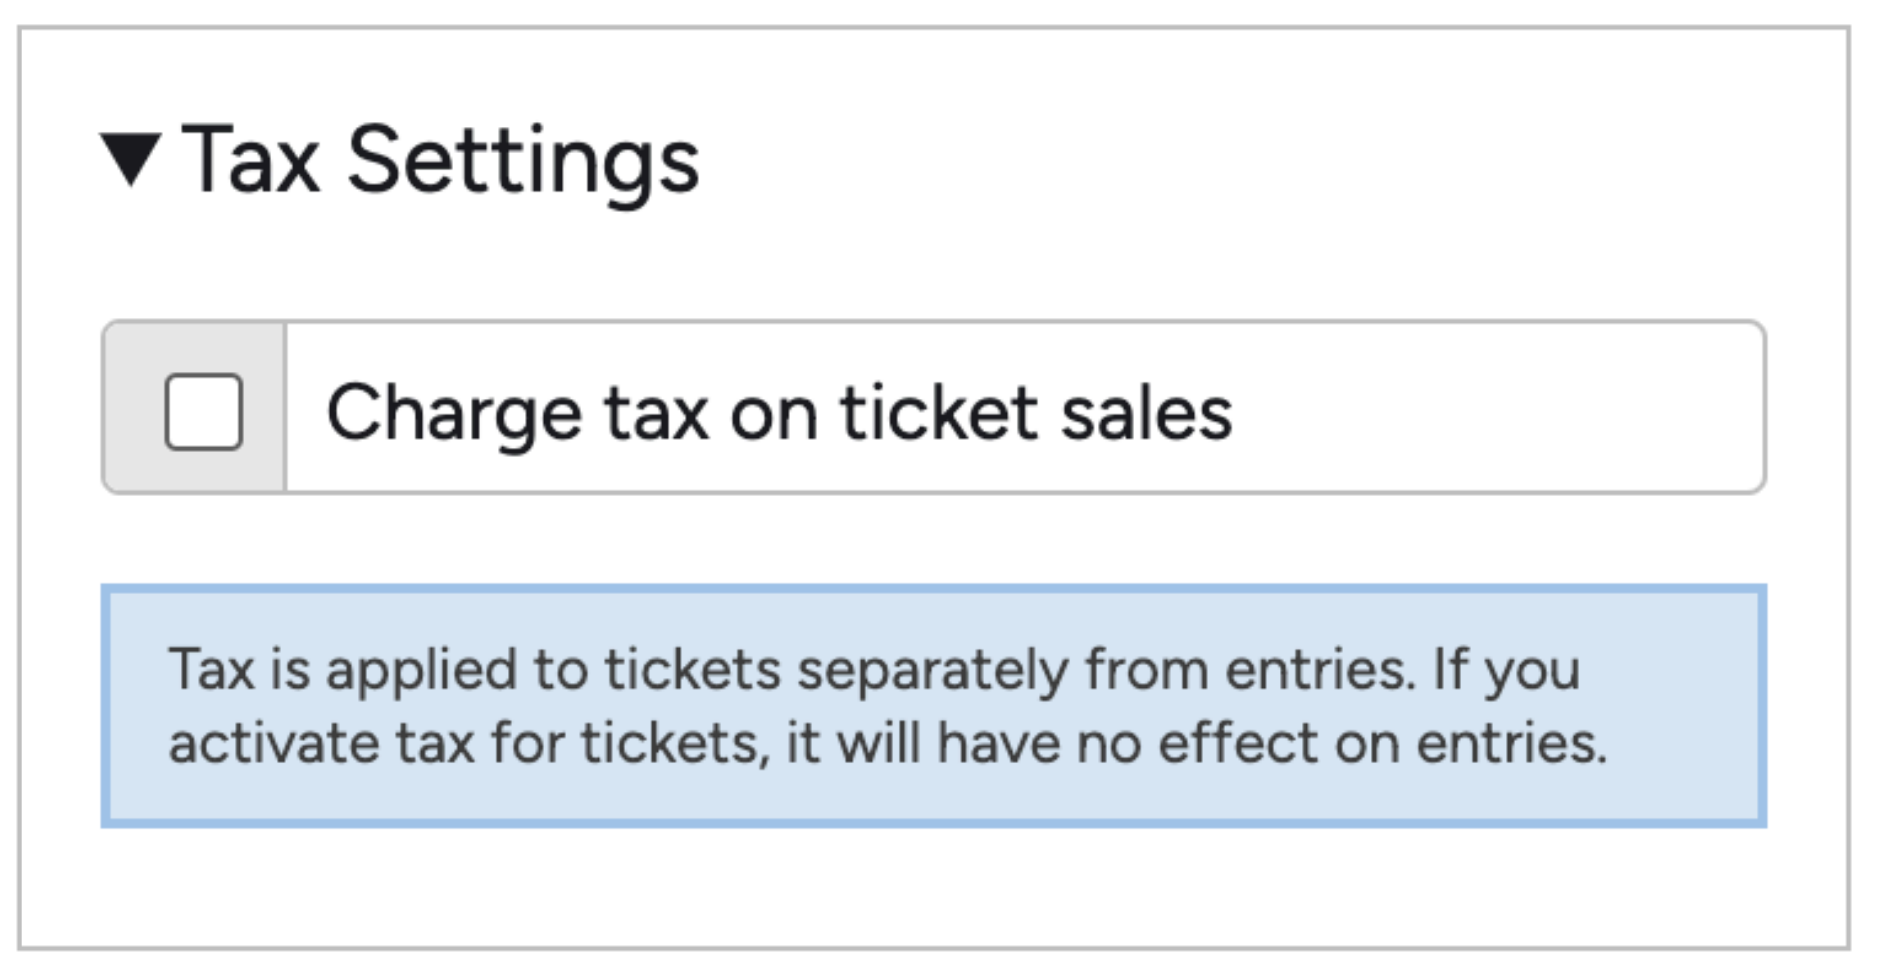
Next, set tax on your tickets if applicable. To set tax rates, go to ‘Active Season’ – ‘Edit Season’ – ‘Online Payment’ – ‘Tax Rate’.
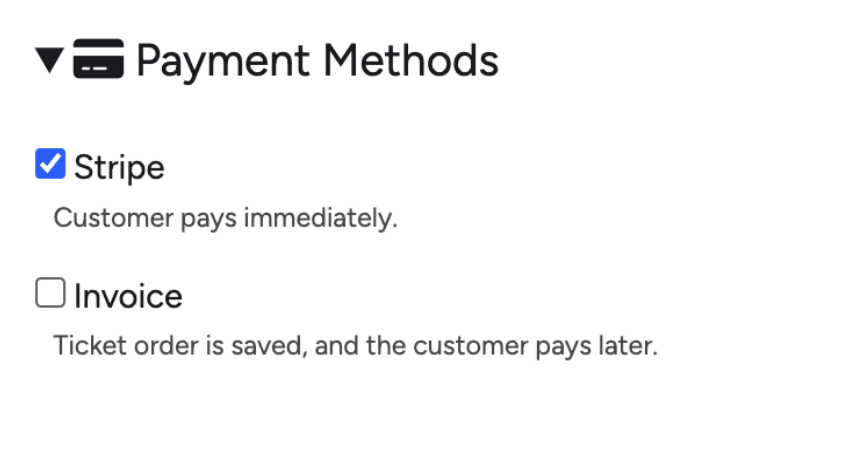
Currently Awardify is only compatible with Stripe payments. To learn more about setting up Stripe, see the ‘Edit Season’ video and documents. If you would prefer not to set up Stripe, there is also an option to send invoices to the purchaser. Then the entrant will be able to pay your organization directly at a later date.
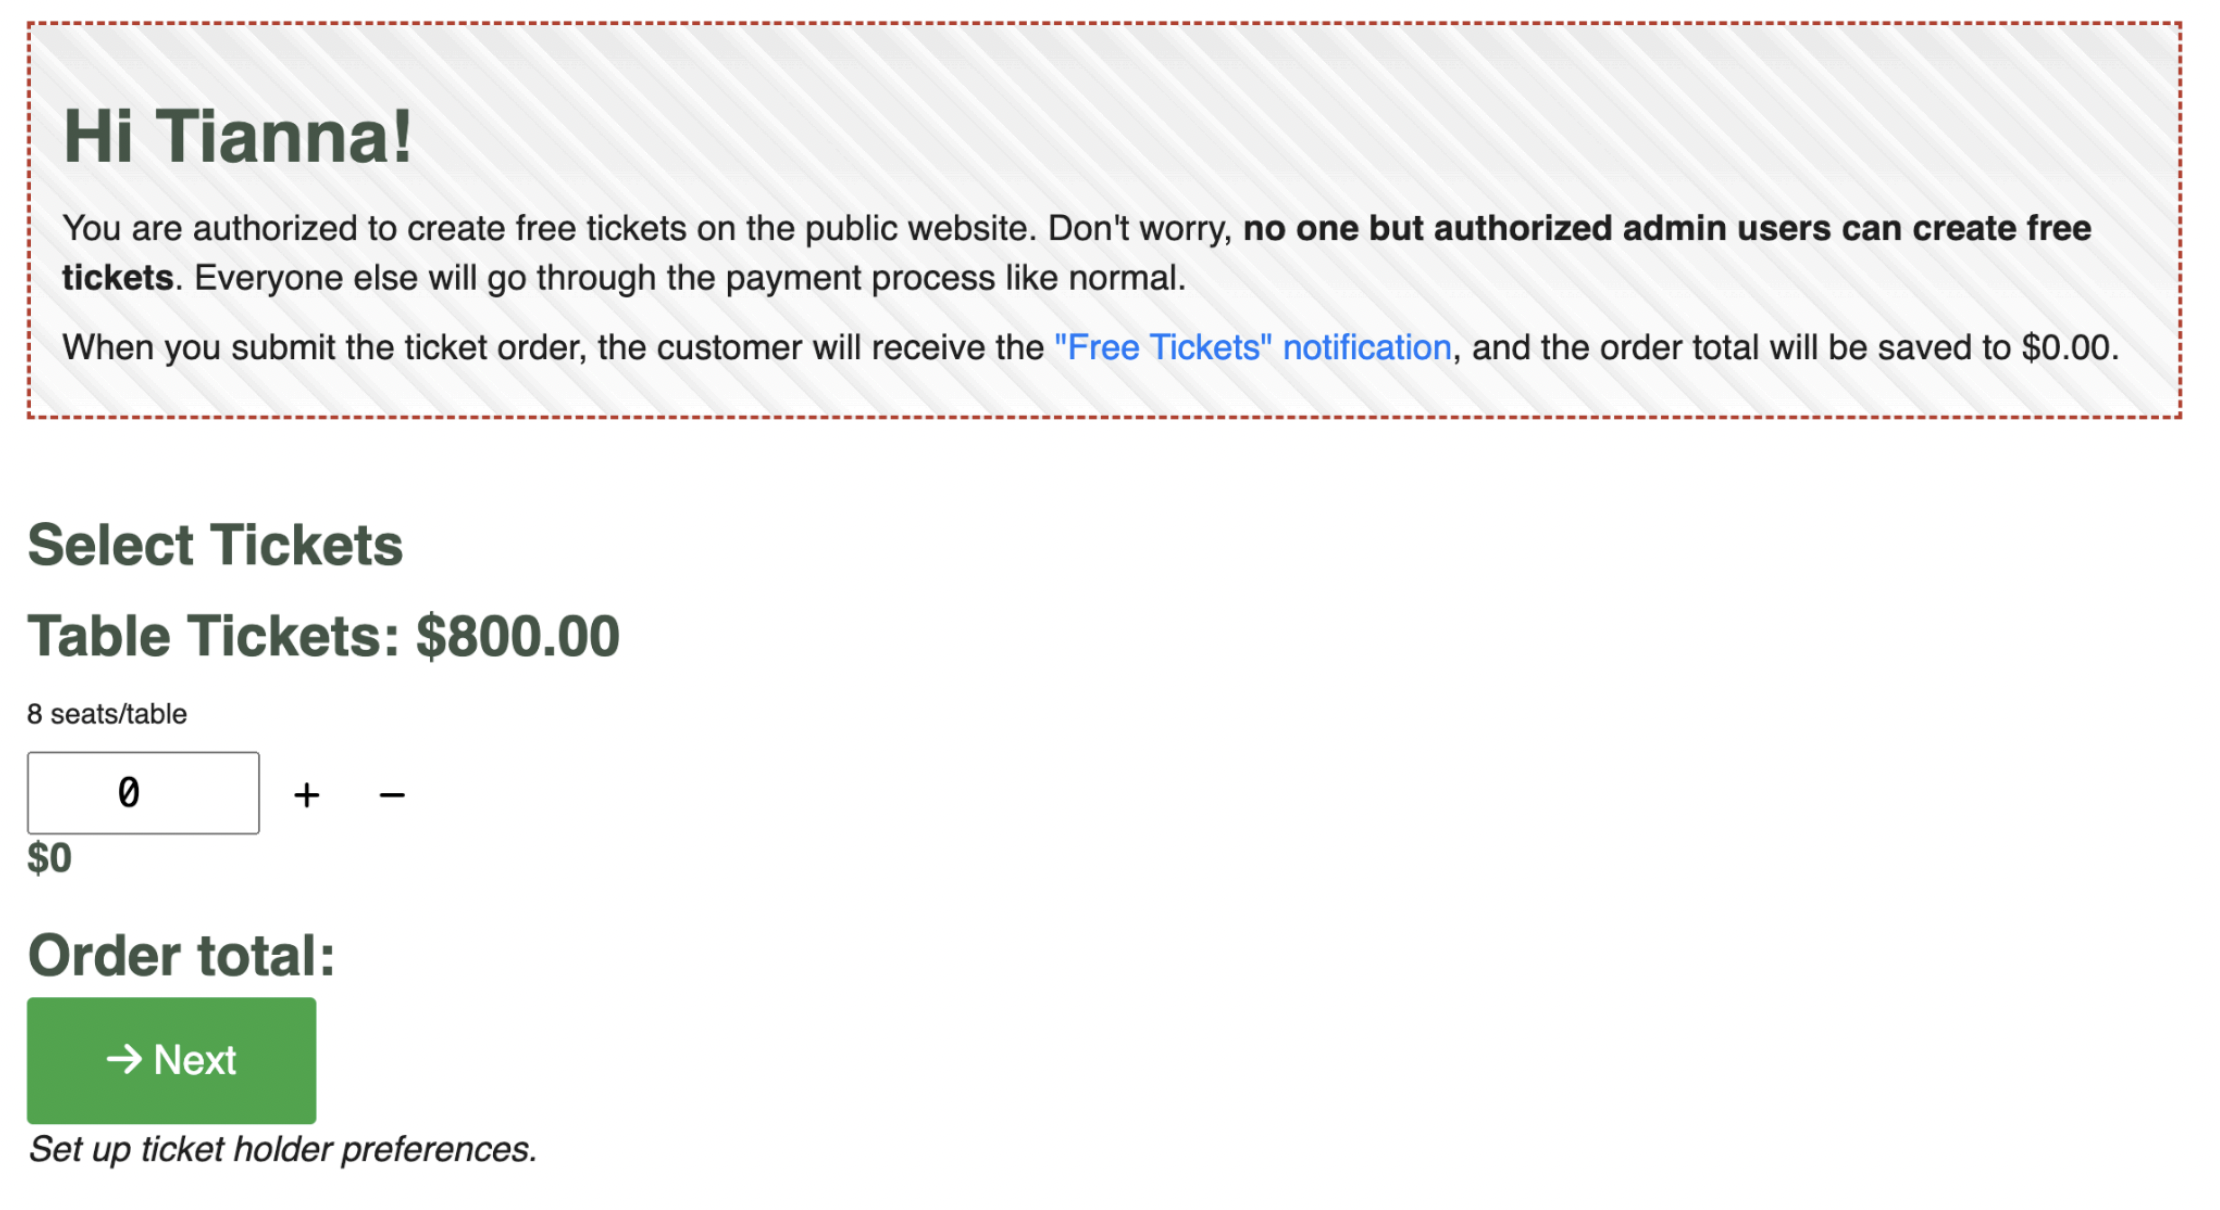
Selecting ‘Create Free Tickets’ will open a new tab with your Gala page. If you scroll down you will see a message pop up, just for you! To create free tickets and send them to a recipient, simply fill out the order like normal and at the end of the process your total will be $0.
In order to see the nominations that have come in, go to the Nominations page. There are three different views for your nominations, either with a master list, by category, or by nominee if a person/business can be nominated for multiple categories. To see the nominations that need to be Approved, open ‘By category’.
Back on the Ticket setup page, you can also create discounts. This can be a fixed amount for the entire order, or a discount per item in the order. First, give your discount a name and an amount. Then set the code. This code can be emailed out to your members, or added to a notification for entrants or nominators/nominees. The discount can be restricted by date, for example an ‘Early Bird’ discount would have an end date several weeks before your final event to incentivize ordering tickets early
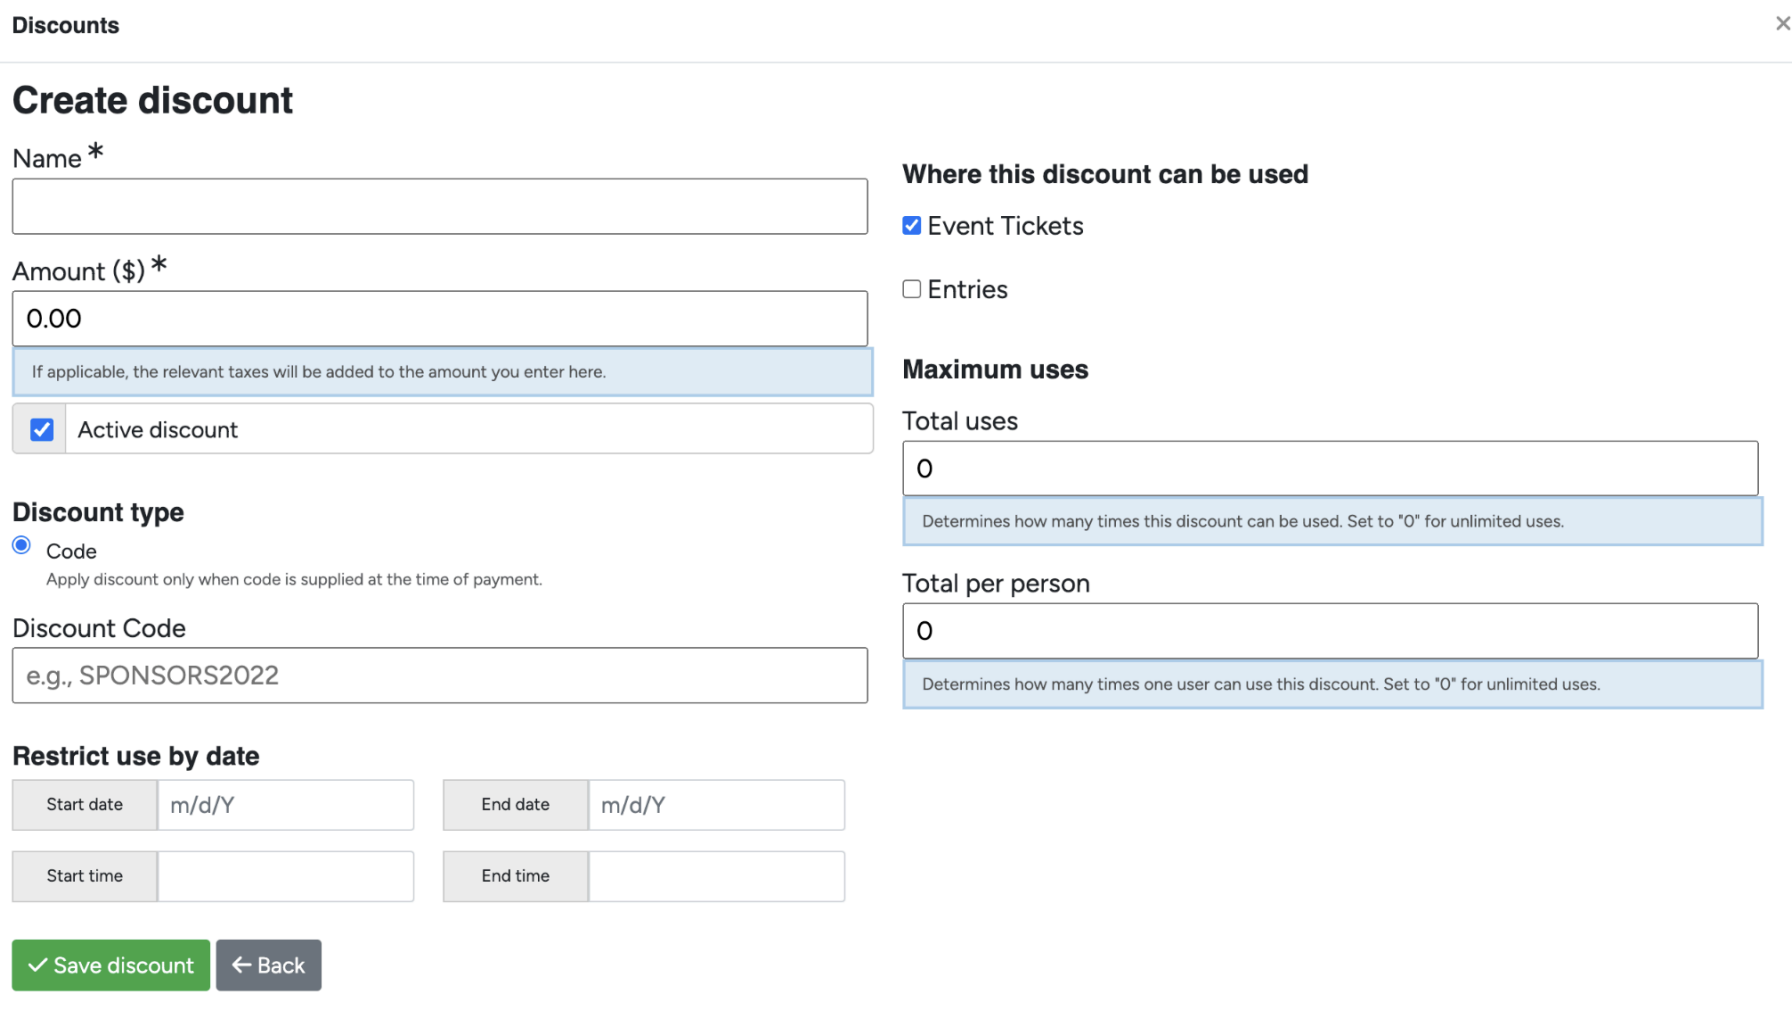
The ‘Total Uses’ setting gives the discount a limit. For example if you advertised that the first 10 tables purchased would be discounted, this is where that limit would be set.
The ‘Total per Person’ limit does exactly that, it sets a limit of uses of the discount per person.
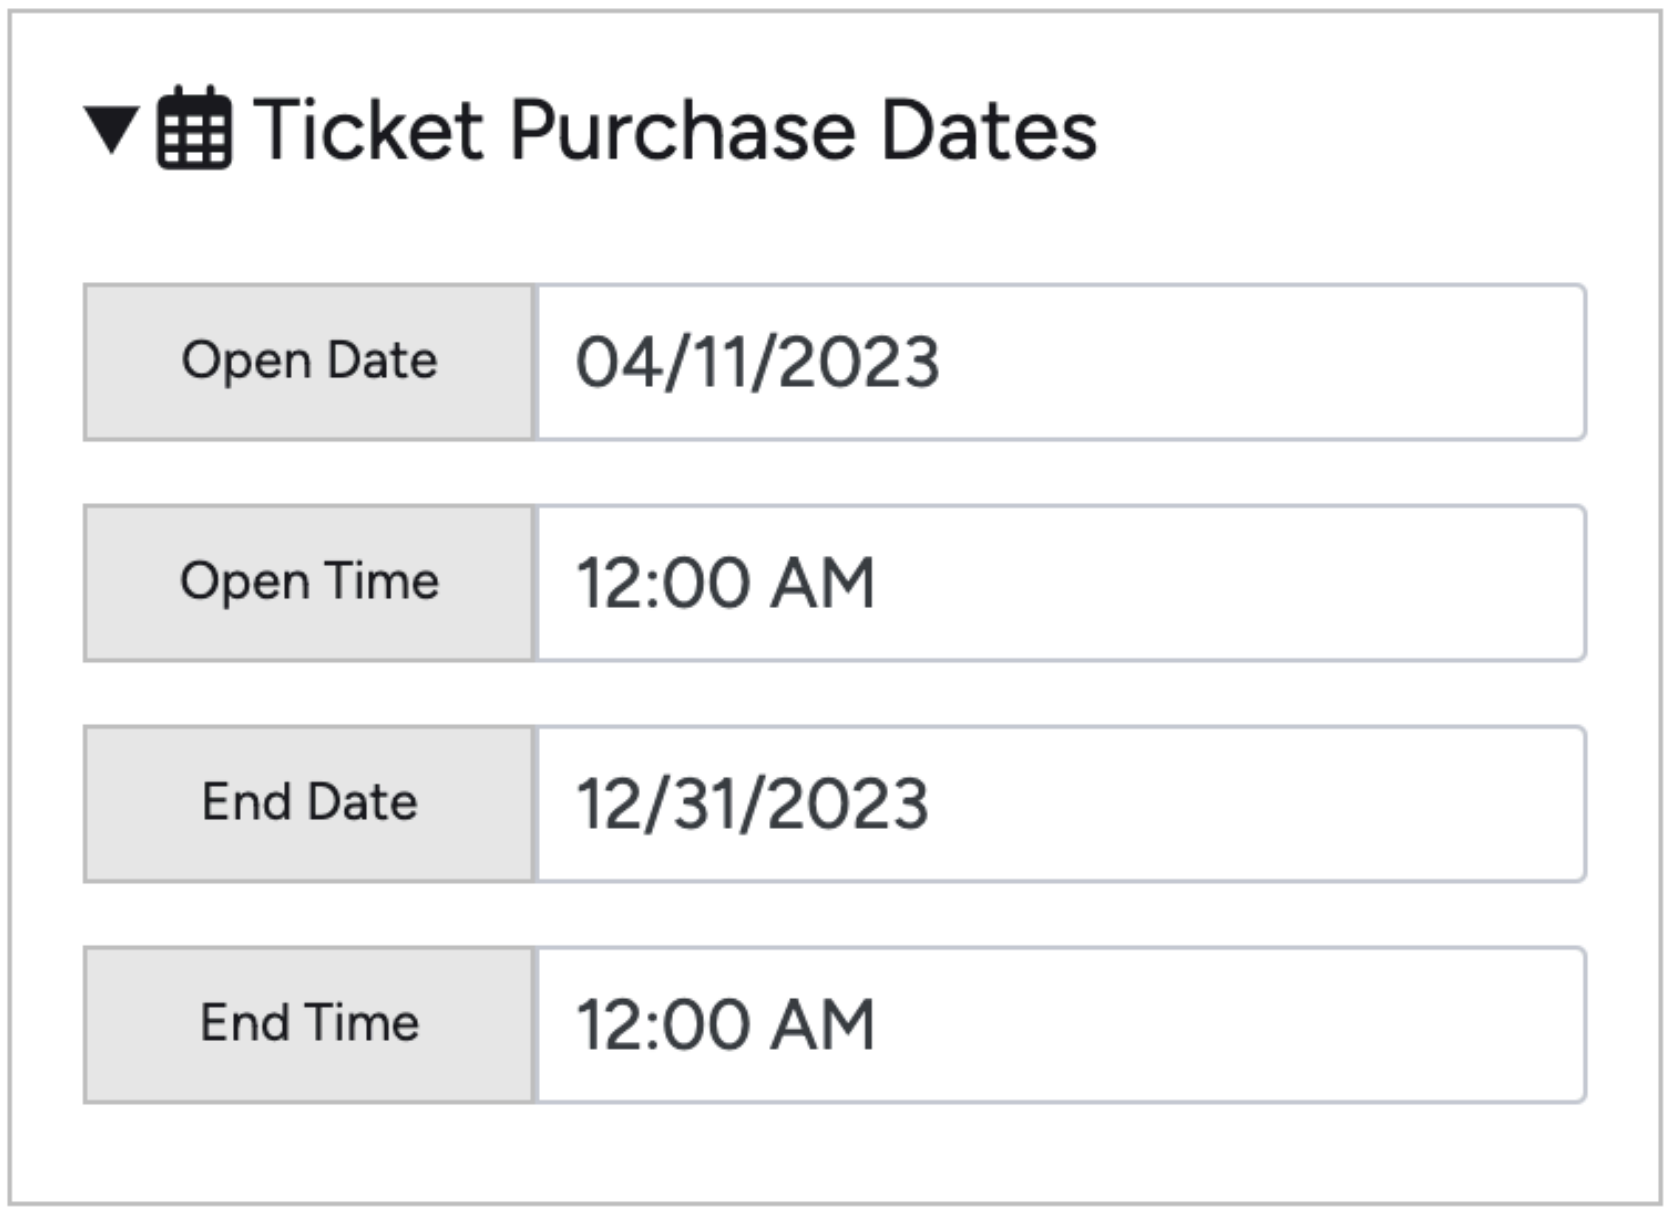
Back up to the top of the page, you can set dates that your tickets will be available. Outside of the dates you set, the option to buy tickets will not appear on your site.
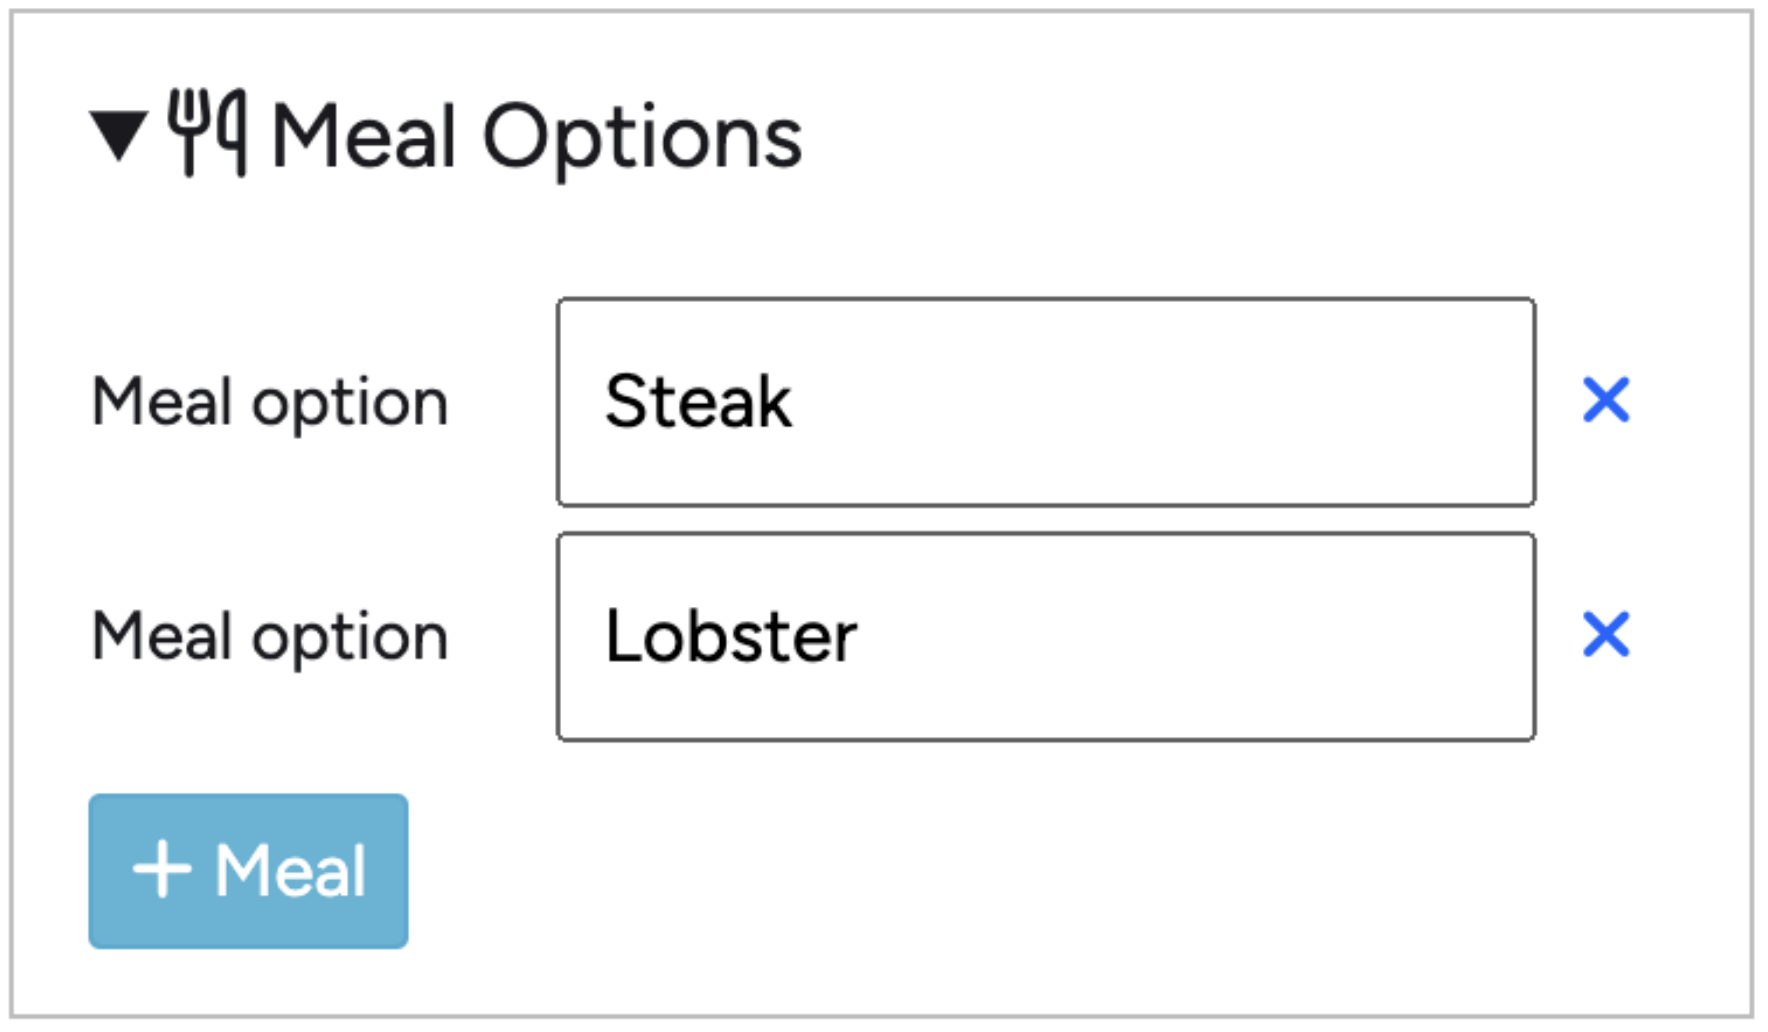
There is also the option to add in Meal Options, this is great data to collect for your event caterers.
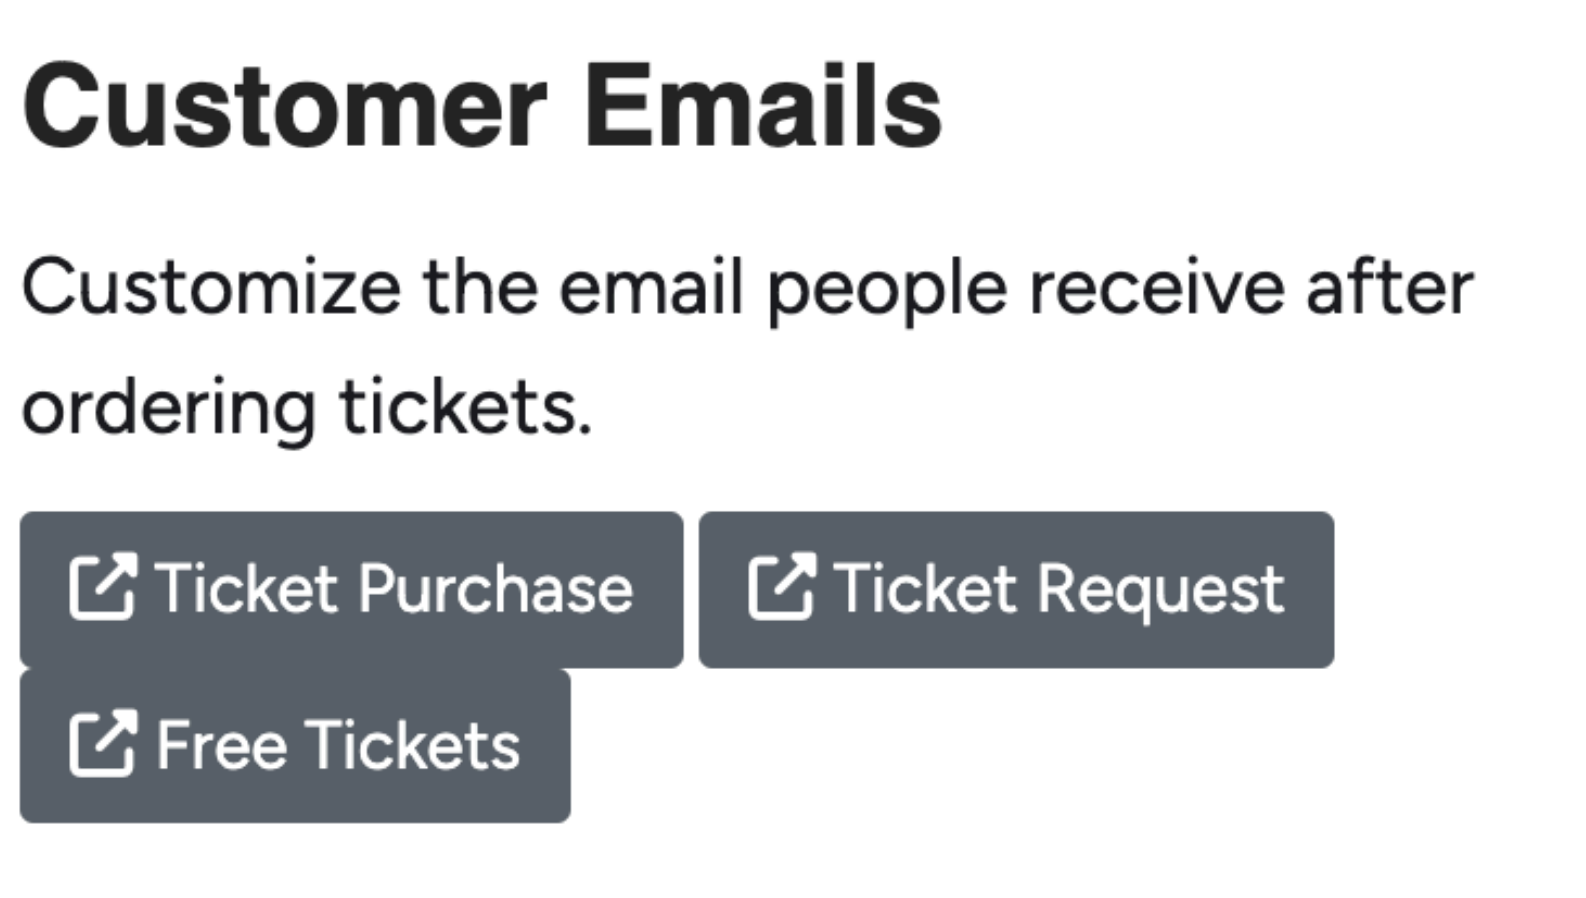
Lastly there are a few buttons to let you preview the emails that will be sent to those purchasing tickets. For more information about Awardify’s Messaging System, see the ‘Messenger’ document. Feel free to update these notifications to suit your needs.
The variables that are used in the templates, as well as those listed on the side, will populate with the data that matches the Customer information.
That is how you create events and sell tickets with Awardify!

