Webpage Settings
Read through the post below to learn how to set up the pages on your public website, or watch the video to see the process. You can also download this post in pdf form: Webpage Settings
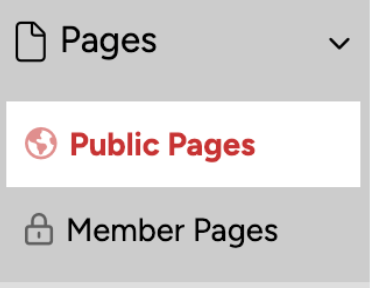
Let’s walk through how to set up each page on your website. For a tutorial on setting up your website theme, please jump over to that video or document, and then meet us back here.
Your Awardify account will have a number of default pages created with default content, starting with the home page.
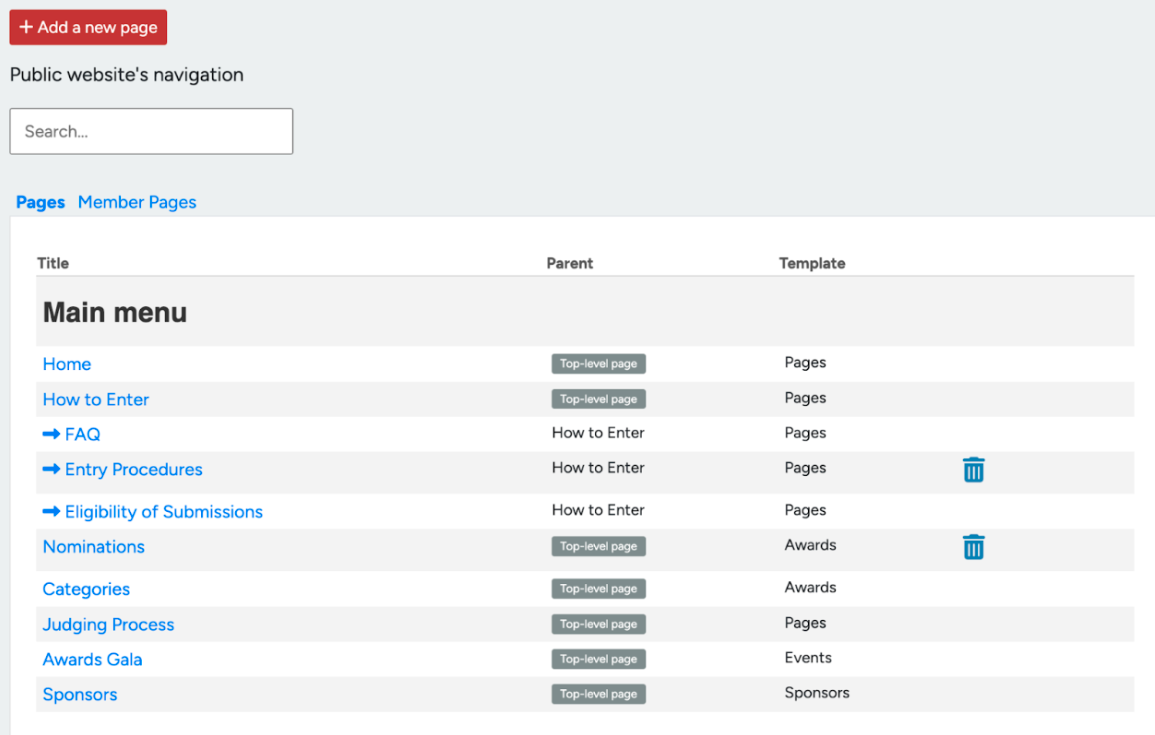
Opening any page, and then selecting the View page button will allow you to switch between your account and the website. If your website is not currently active, this will open a preview link that is not visible to the public.
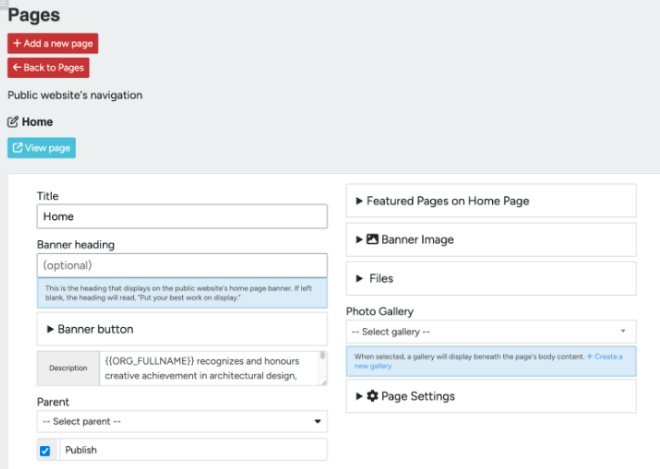
To begin, set your Title and Banner heading. For pages other than the Home page, the Title will show up in the URL, the Banner Heading will show up as the first text under the navigation links.
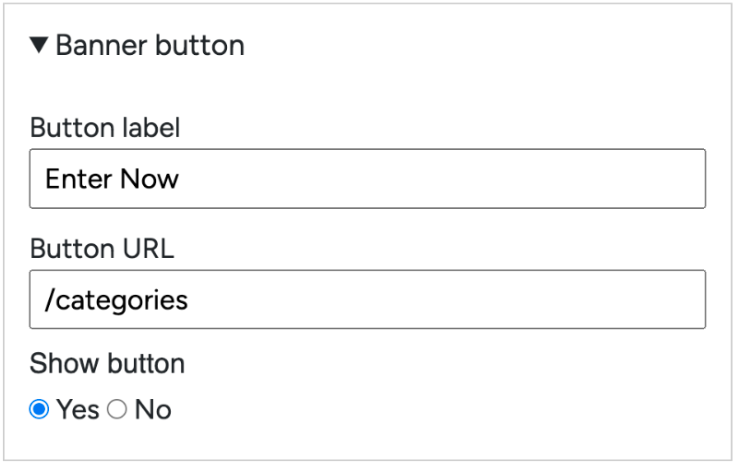
The Banner button dropdown lets you edit the first Call to Action button. You can direct your public to submit an entry or a nomination, or buy tickets to your Gala event. Feel free to change this button as your awards season progresses.
The Description box adjusts the text that appears between the Heading and the Banner Button, this is a good place to introduce yourself and your awards program.

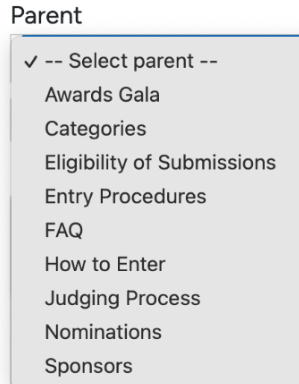
Selecting a Parent makes this page a subpage. This means it will show up as a sub-item in the menu. For example, back in the pages view, you will see that the FAQ, Entry Procedures, and Eligibility of Submissions pages are distinguished with arrows. This means that the ‘How to Enter’ page is set as the Parent.

This is how this appears on the website.

Moving on to the next setting, you can choose to publish or unpublish the page. This option is great when your website is live but you don’t have all of the content on that page available for the public yet.

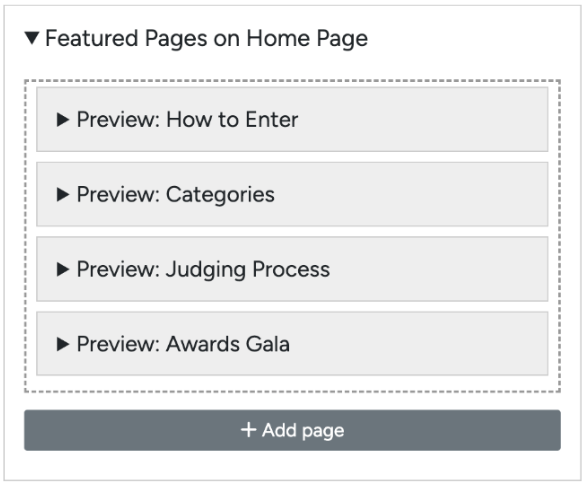
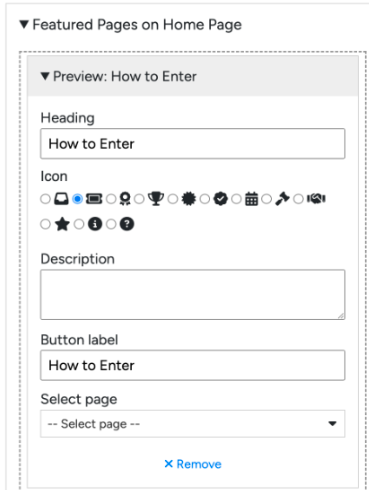
The ‘Featured Pages on Home Page’ dropdown is where you can set the buttons and icons that will show up below your banner. You can customize the text on these buttons, as well as the icons and where the links are pointed. You can add or remove as many of these buttons as you would like.

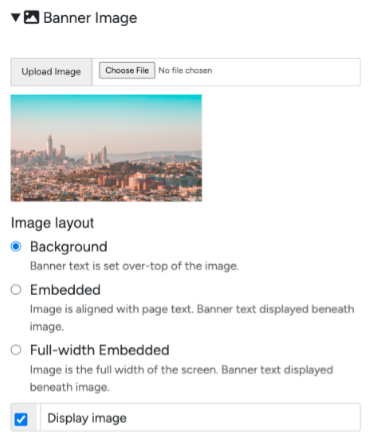
The Banner Image will show either behind or above your Heading, Description, and Button.
After uploading your image, there are a few ways to display it, and you may want to adjust this depending on the image size. A larger image can be displayed in the Background, with the text showing over top. Embedded places this image above your text, great for a smaller image or a graphic with text. Full-width Embedded shows your image above the text, full width on the screen. This is great if you are using a wide and short image.
Next there is a Files upload spot, this is useful if you have forms that you would like Entrants to fill out as part of their entry form, or other documents that might be useful. Links to download these files will appear on your homepage. You can make this link visible or invisible.


There are two ways to show photos on any webpage. The first way is to create a photo gallery. This will display a collection of photos related to the purpose of your page. After creating your Gallery, it will be available in the dropdown here.
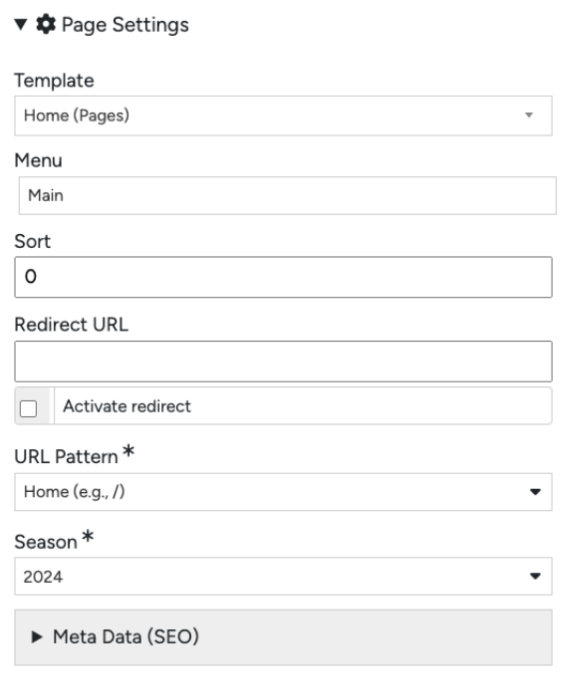
The Page Settings are advanced settings offering further customization. If you are a website beginner, the default settings here will be completely suitable.
To begin this section, Awardify webpages are divided into multiple templates.If you would like to start with a blank page, select a ‘Regular content page’. For an in-depth walkthrough of each template, see our Website Templates video and document.
The Sort textbox will set the order that your pages appear on the navigation menu, or the dropdown (if you’ve set a Parent).
Next is a section to establish a redirect if necessary.
The URL pattern is also available for further customization of the website setup. Much like setting parent pages, setting the URL can help with the navigation of your website.
When creating a new season, all customization will carry over, so if you have created a webpage that is irrelevant to your new season, you can set it back to the previous season, and it will not show on your website.
To edit your Meta Data, set keywords for your webpage and a description.
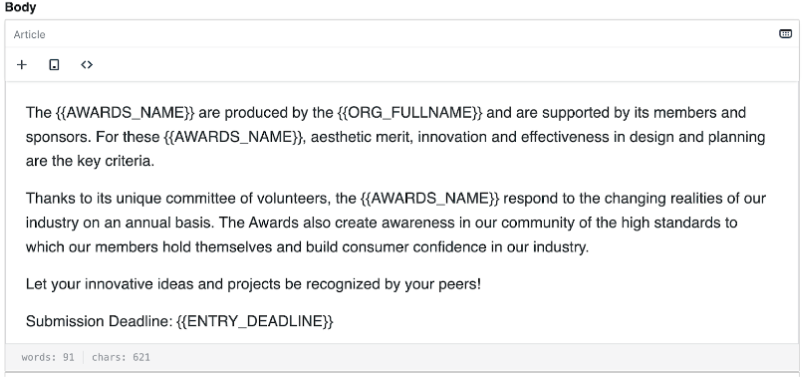
To add content to your page, use the body textbox. Hitting the + button will open a menu of items you can add to the body:
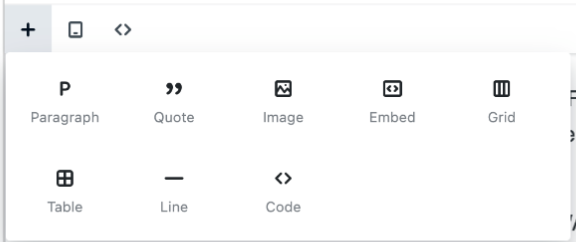
Paragraph will just add normal text content. Adding a quote will not change much on the front end, it simply allows search engines to understand your content better.
Add images into your content with the Image button, this will open a place to paste a link.

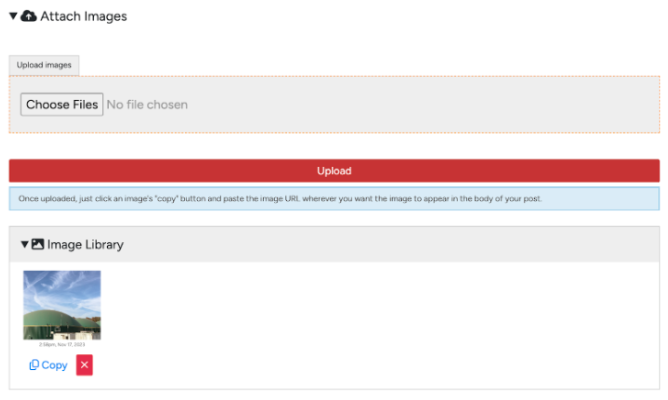
To get this link, scroll down below the body and the variables to the ‘Attach images’ area. After uploading your image, it will show in the image library below, with a link to copy. Use this link to paste into the spot seen earlier.
Add youtube or vimeo videos with the embed button. Grids and tables allow you to format your content into columns.
Inserting a line is a great way to visually divide your content and add a style element. Lastly, if you would like further customization than the options here, you can add your own code.
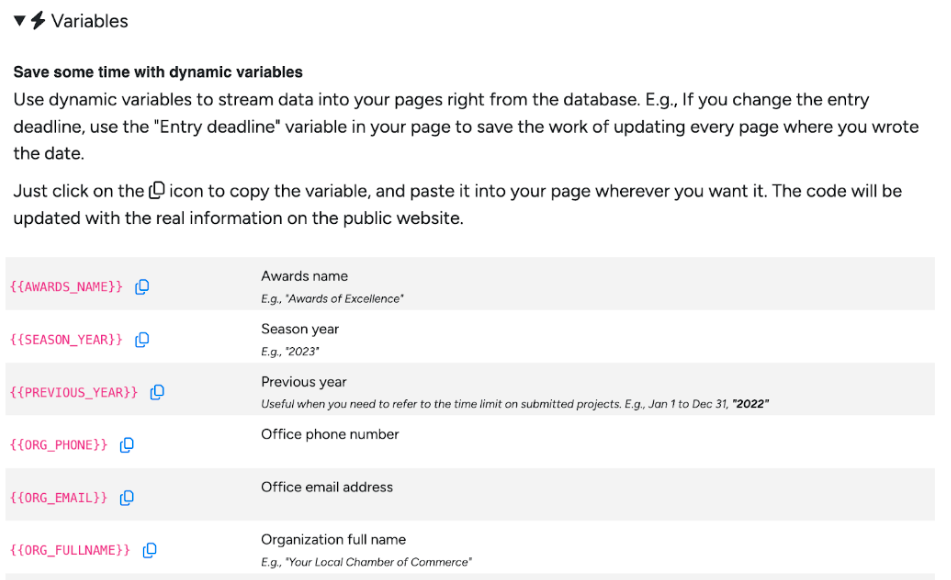
In the default content, you will notice variables that follow a specific format with double curly brackets. This allows you to use dynamic content when you change seasons, meaning you will not need to find every reference to a past year or awards event, they will be automatically updated. The dropdown variables menu provides a list of available variables you can use on any webpage.
These are the basic settings for each of your webpages. The different templates will affect the content that is displayed on each page as well. Check out the Webpage Templates document for an overview of each one!
